DC under the stairs
DC under the stairs
when we bought our house in 2013 i spent a lot of time to setup my network upstairs in the bonus room where my home office was. it seems like a good place and worked well the first year, then summer hit. i totally under estimated how hot it was going to get up there. i delt with it for a few years, and just a few weeks ago finish the main install. this is the DC under the stairs.
to sum up the overall network, i run Ubiquity equipment, the Unifi line.
1 x USG 1 x 24 port 250W switch 1 x 8 port 150W switch 2 x 8 port switches 2 x UAP-AC-HD 3 x UAP-M-AC and a bunch of unifi cameras.
first, i had to clean the space out that we shoved crap in when we bought the house. then i had to see if the rack i had sitting in the garage was going to fit alright.
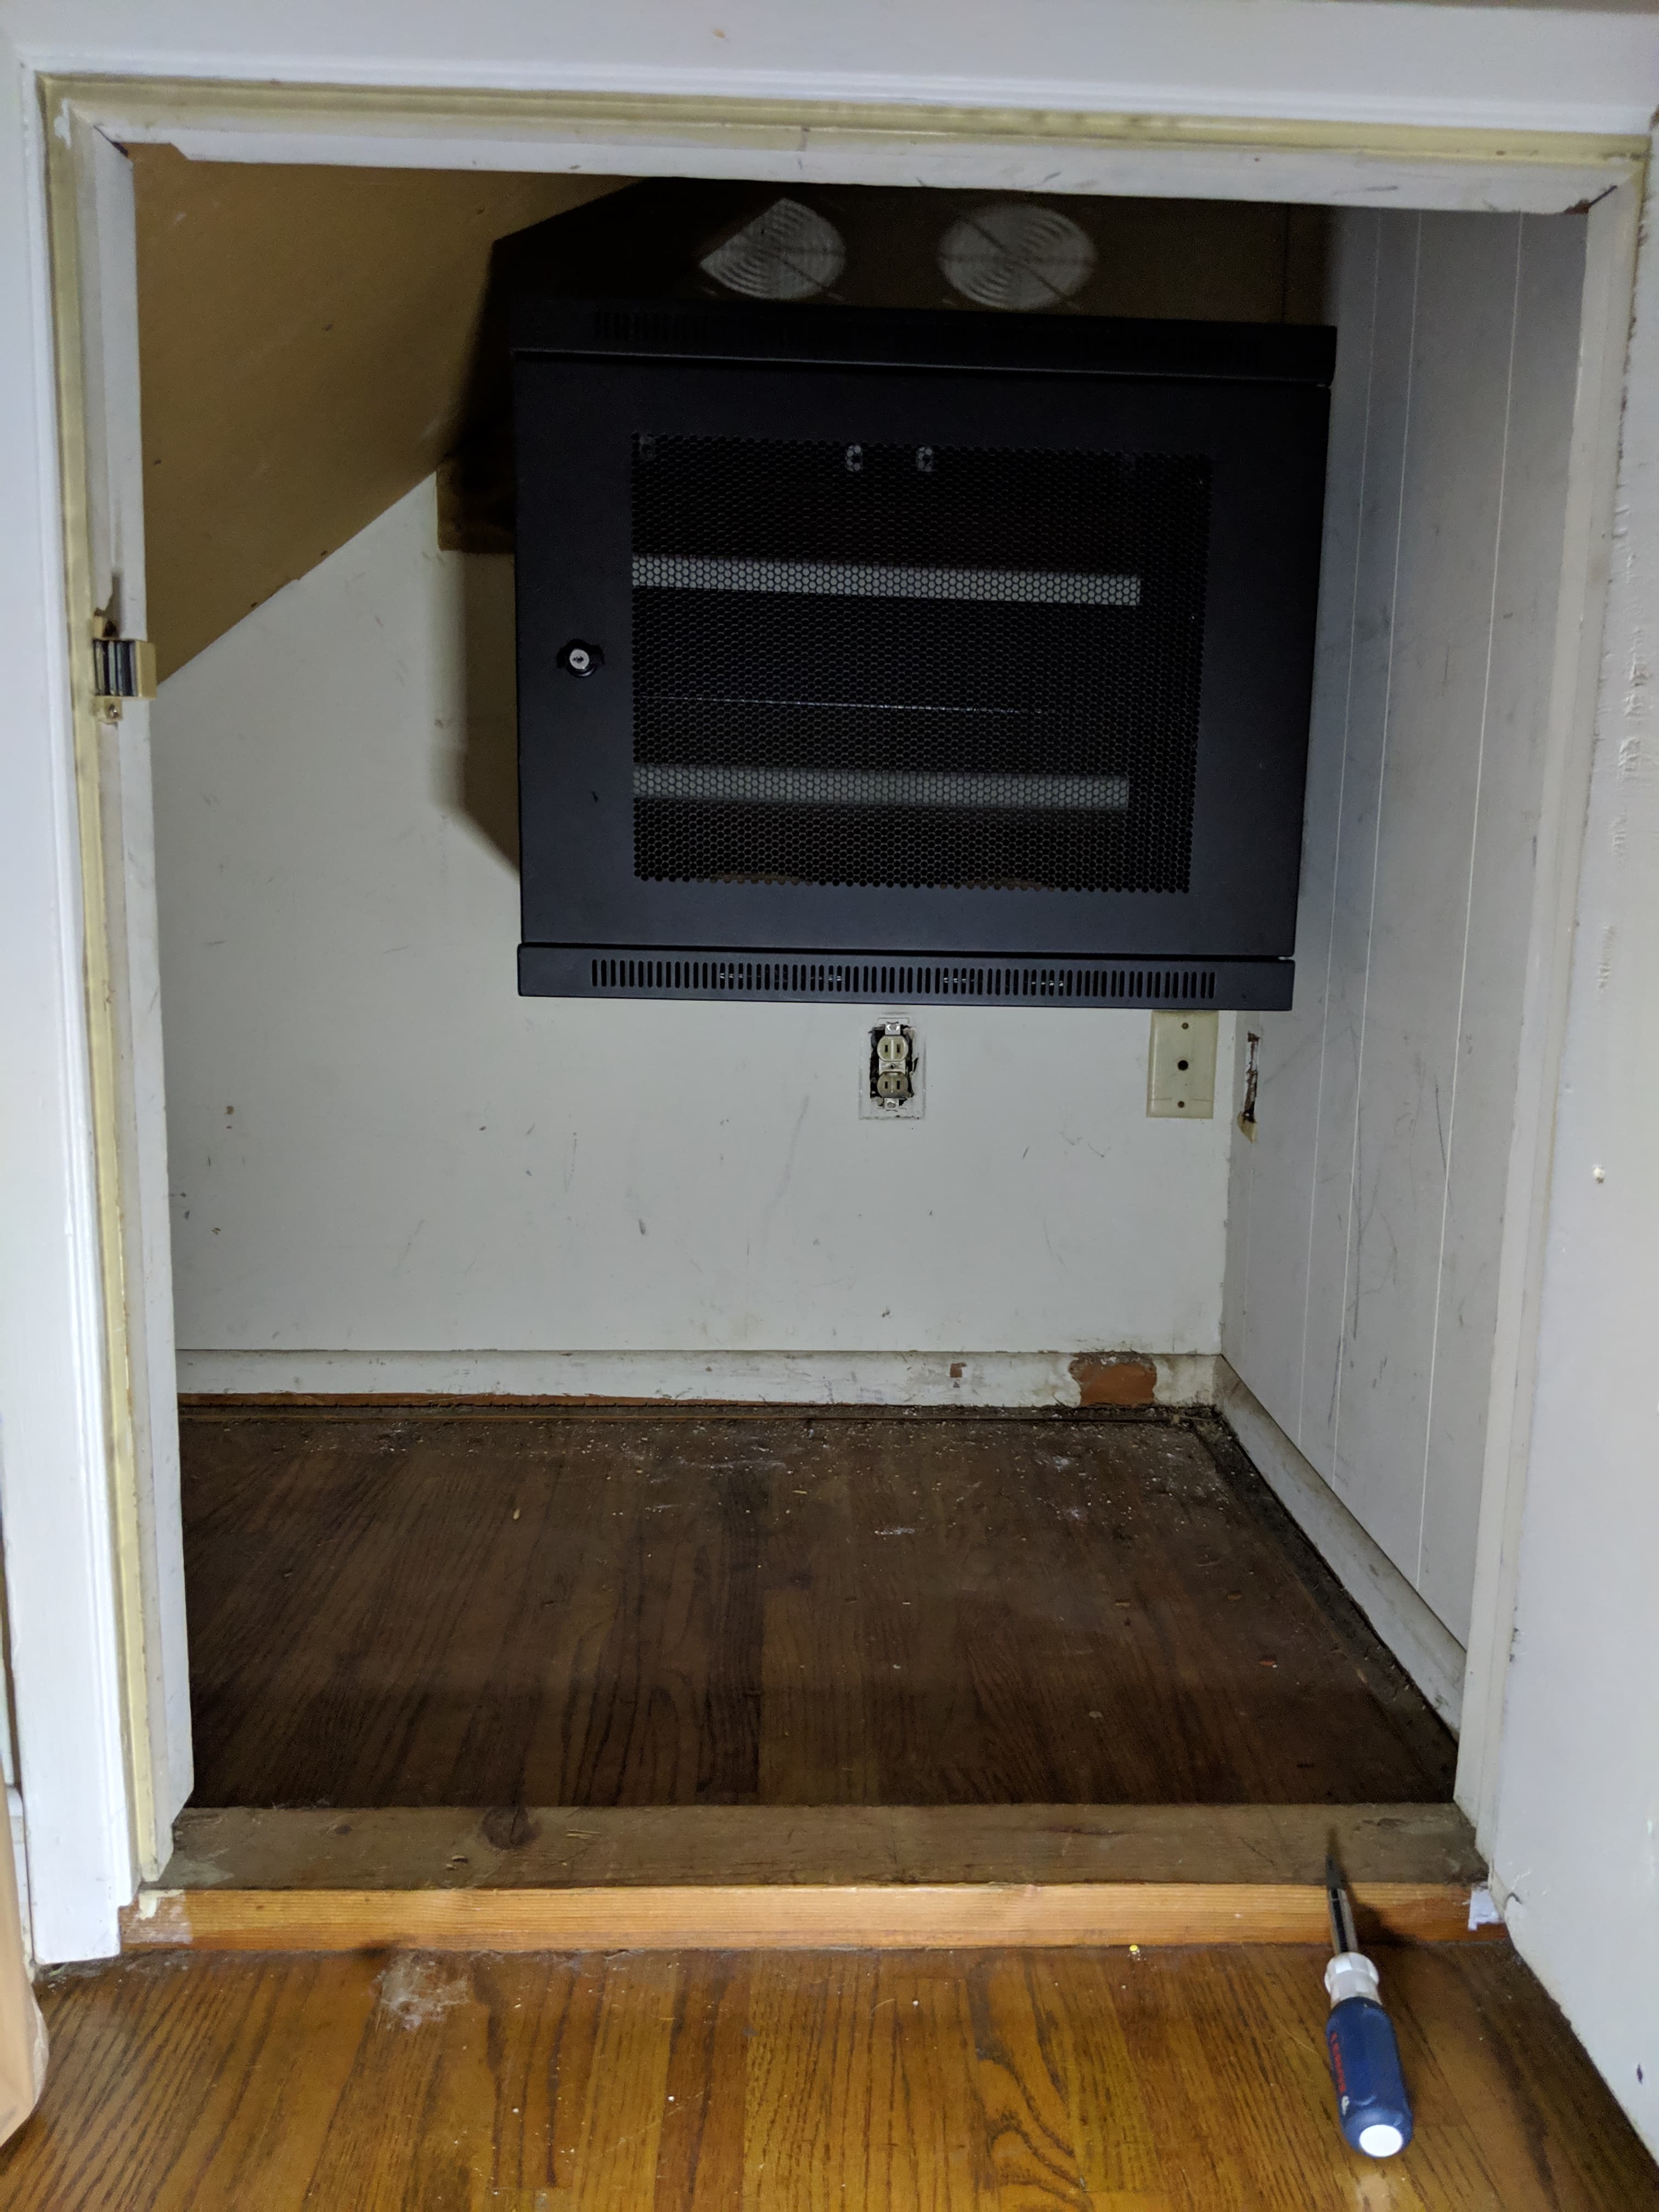
ok check, next was to cut a small hole in the floor so i can bring in new power (the outlet on the wall has no ground and is shared with the living room i think)
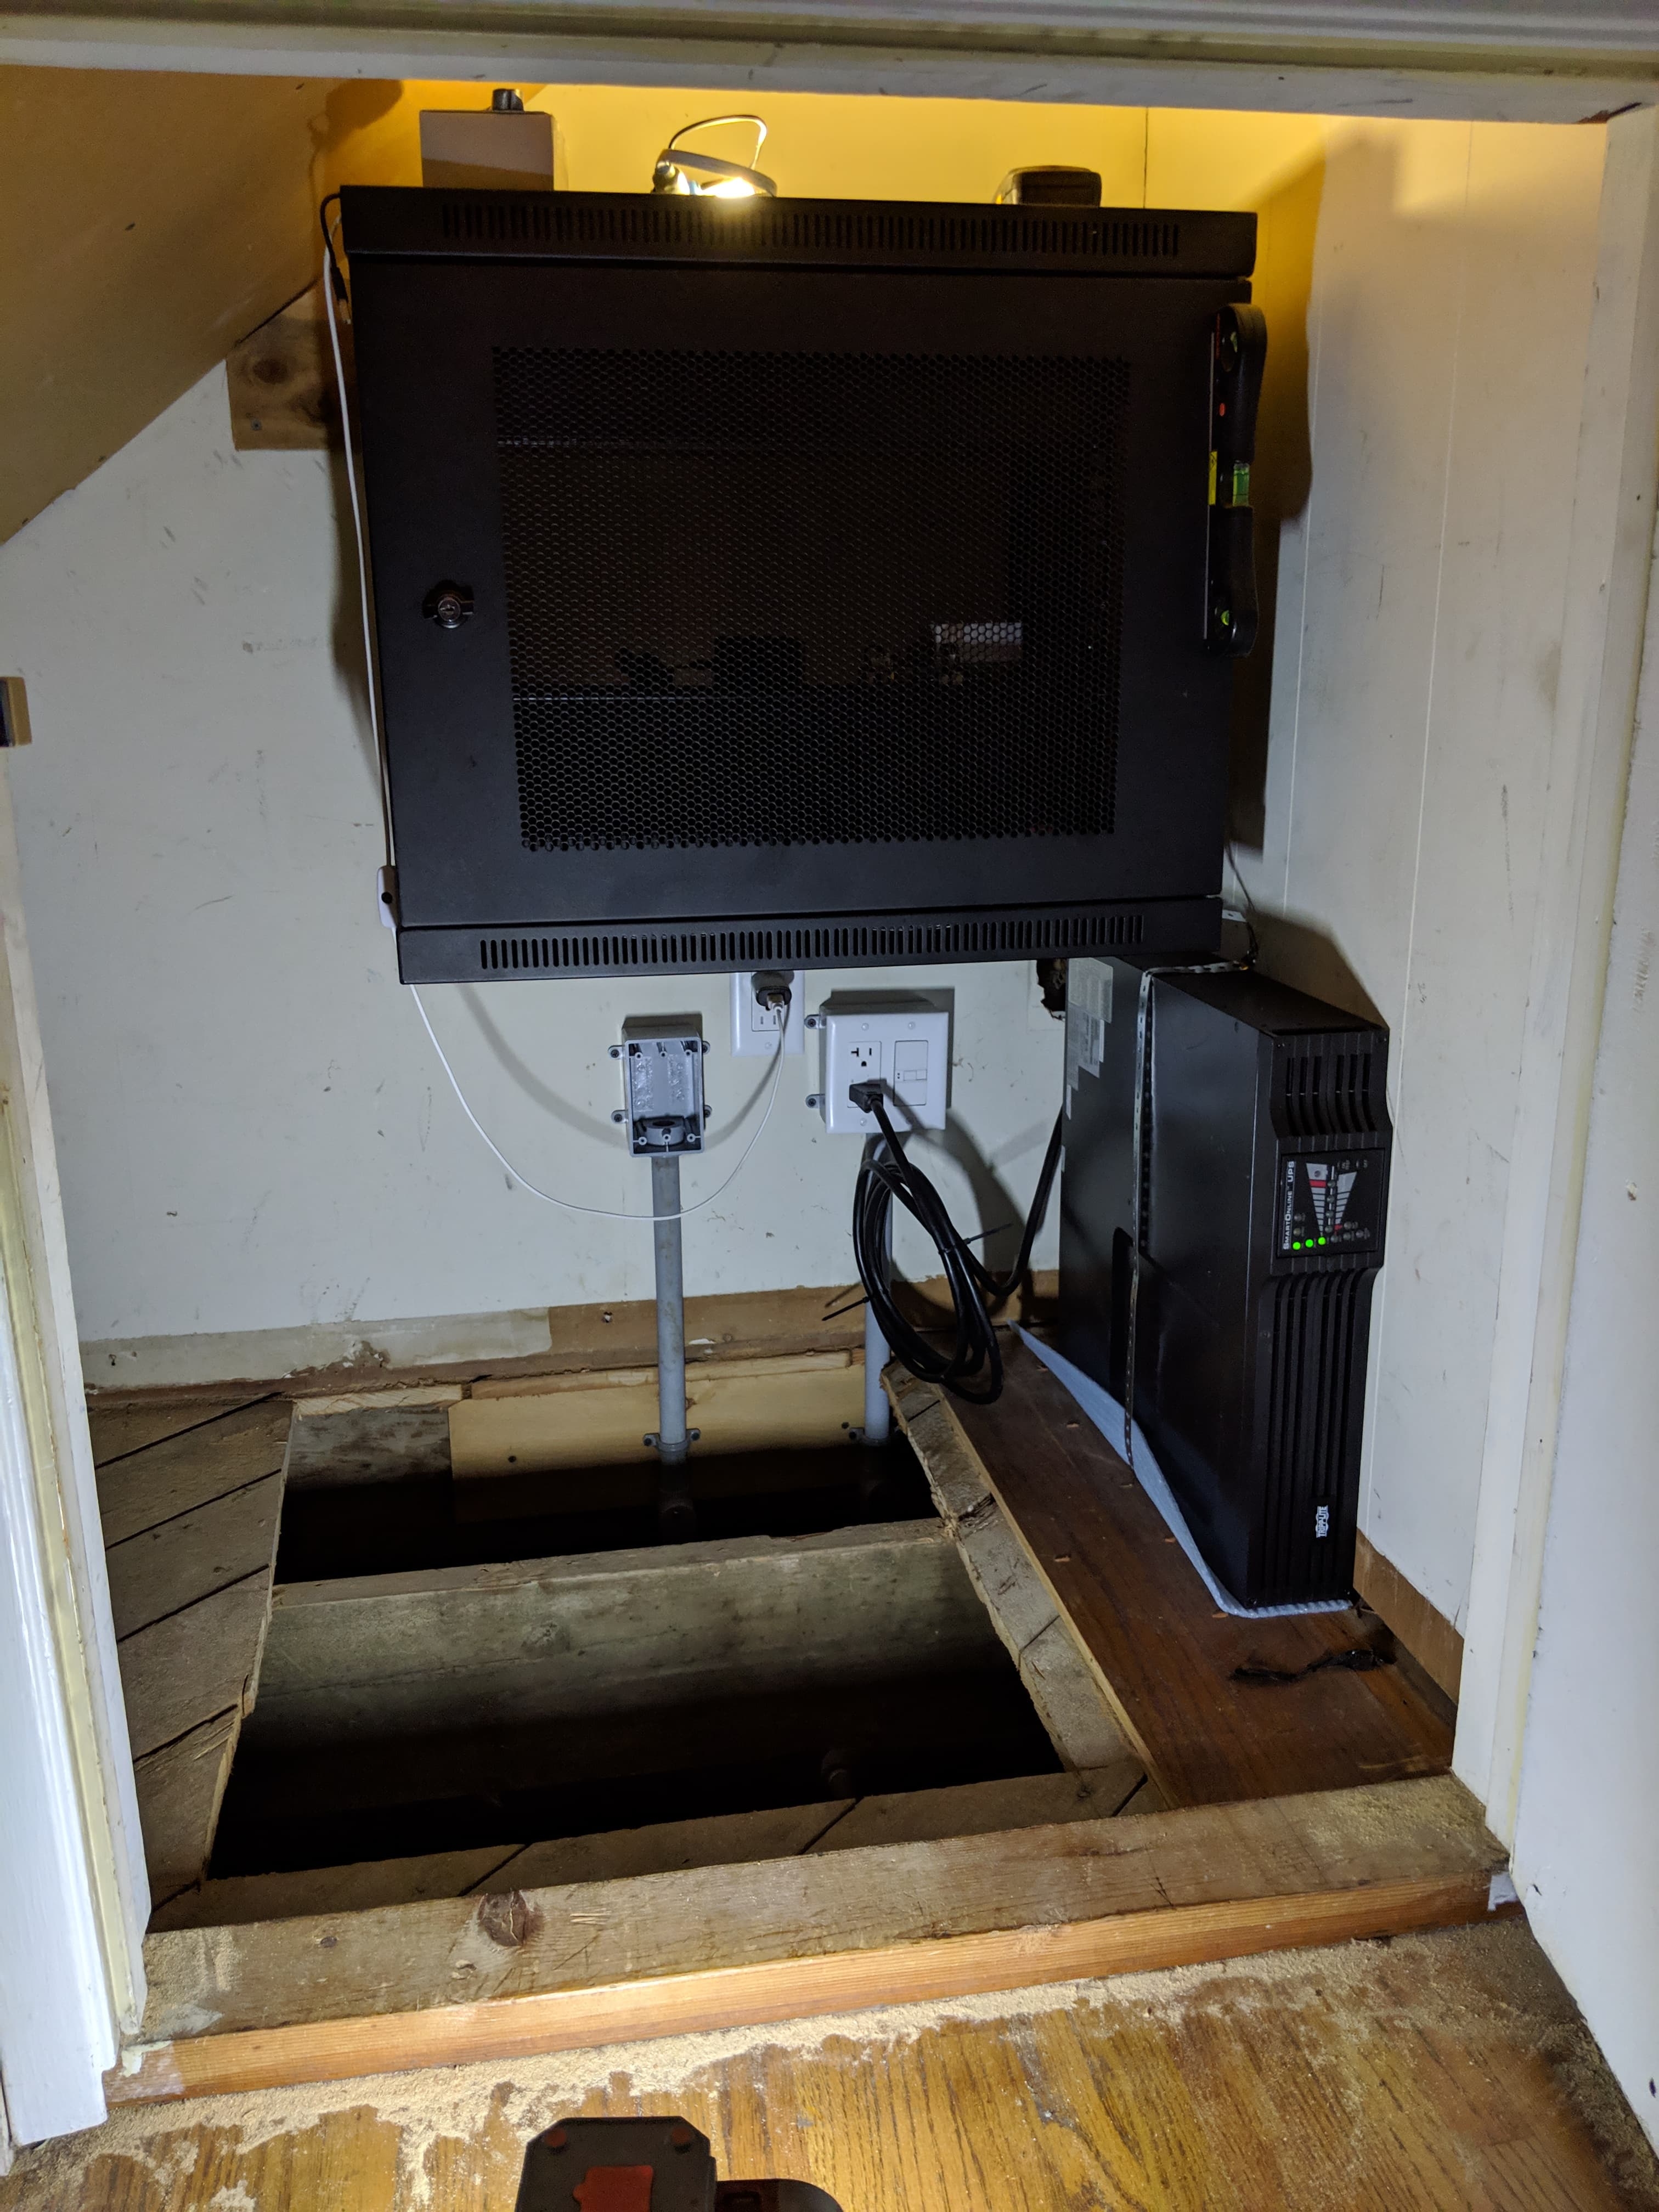
uh well small hole turned into giant hole, but i had a plan, my wife had faith (although scared at this point). i ran two new conduits, one for power, and one for data (straight to the side of the house where the cable comes in), replaced the old outlet anyway, put in the new one, and tested with the ups. next up i had to pull all the old conduit feeds from the AC closet where the old 8 port unifi switch was. i had chosen the AC closet because it was the best way to get from under the house to the attic which got me upstairs for the cable modem. so now i had to undo it all.
once all the old conduits were pulled out, i fed them into the new space and ran a pair of 6 x cat6 bundles into the AC closet and terminated it into a 12 port patch panel.
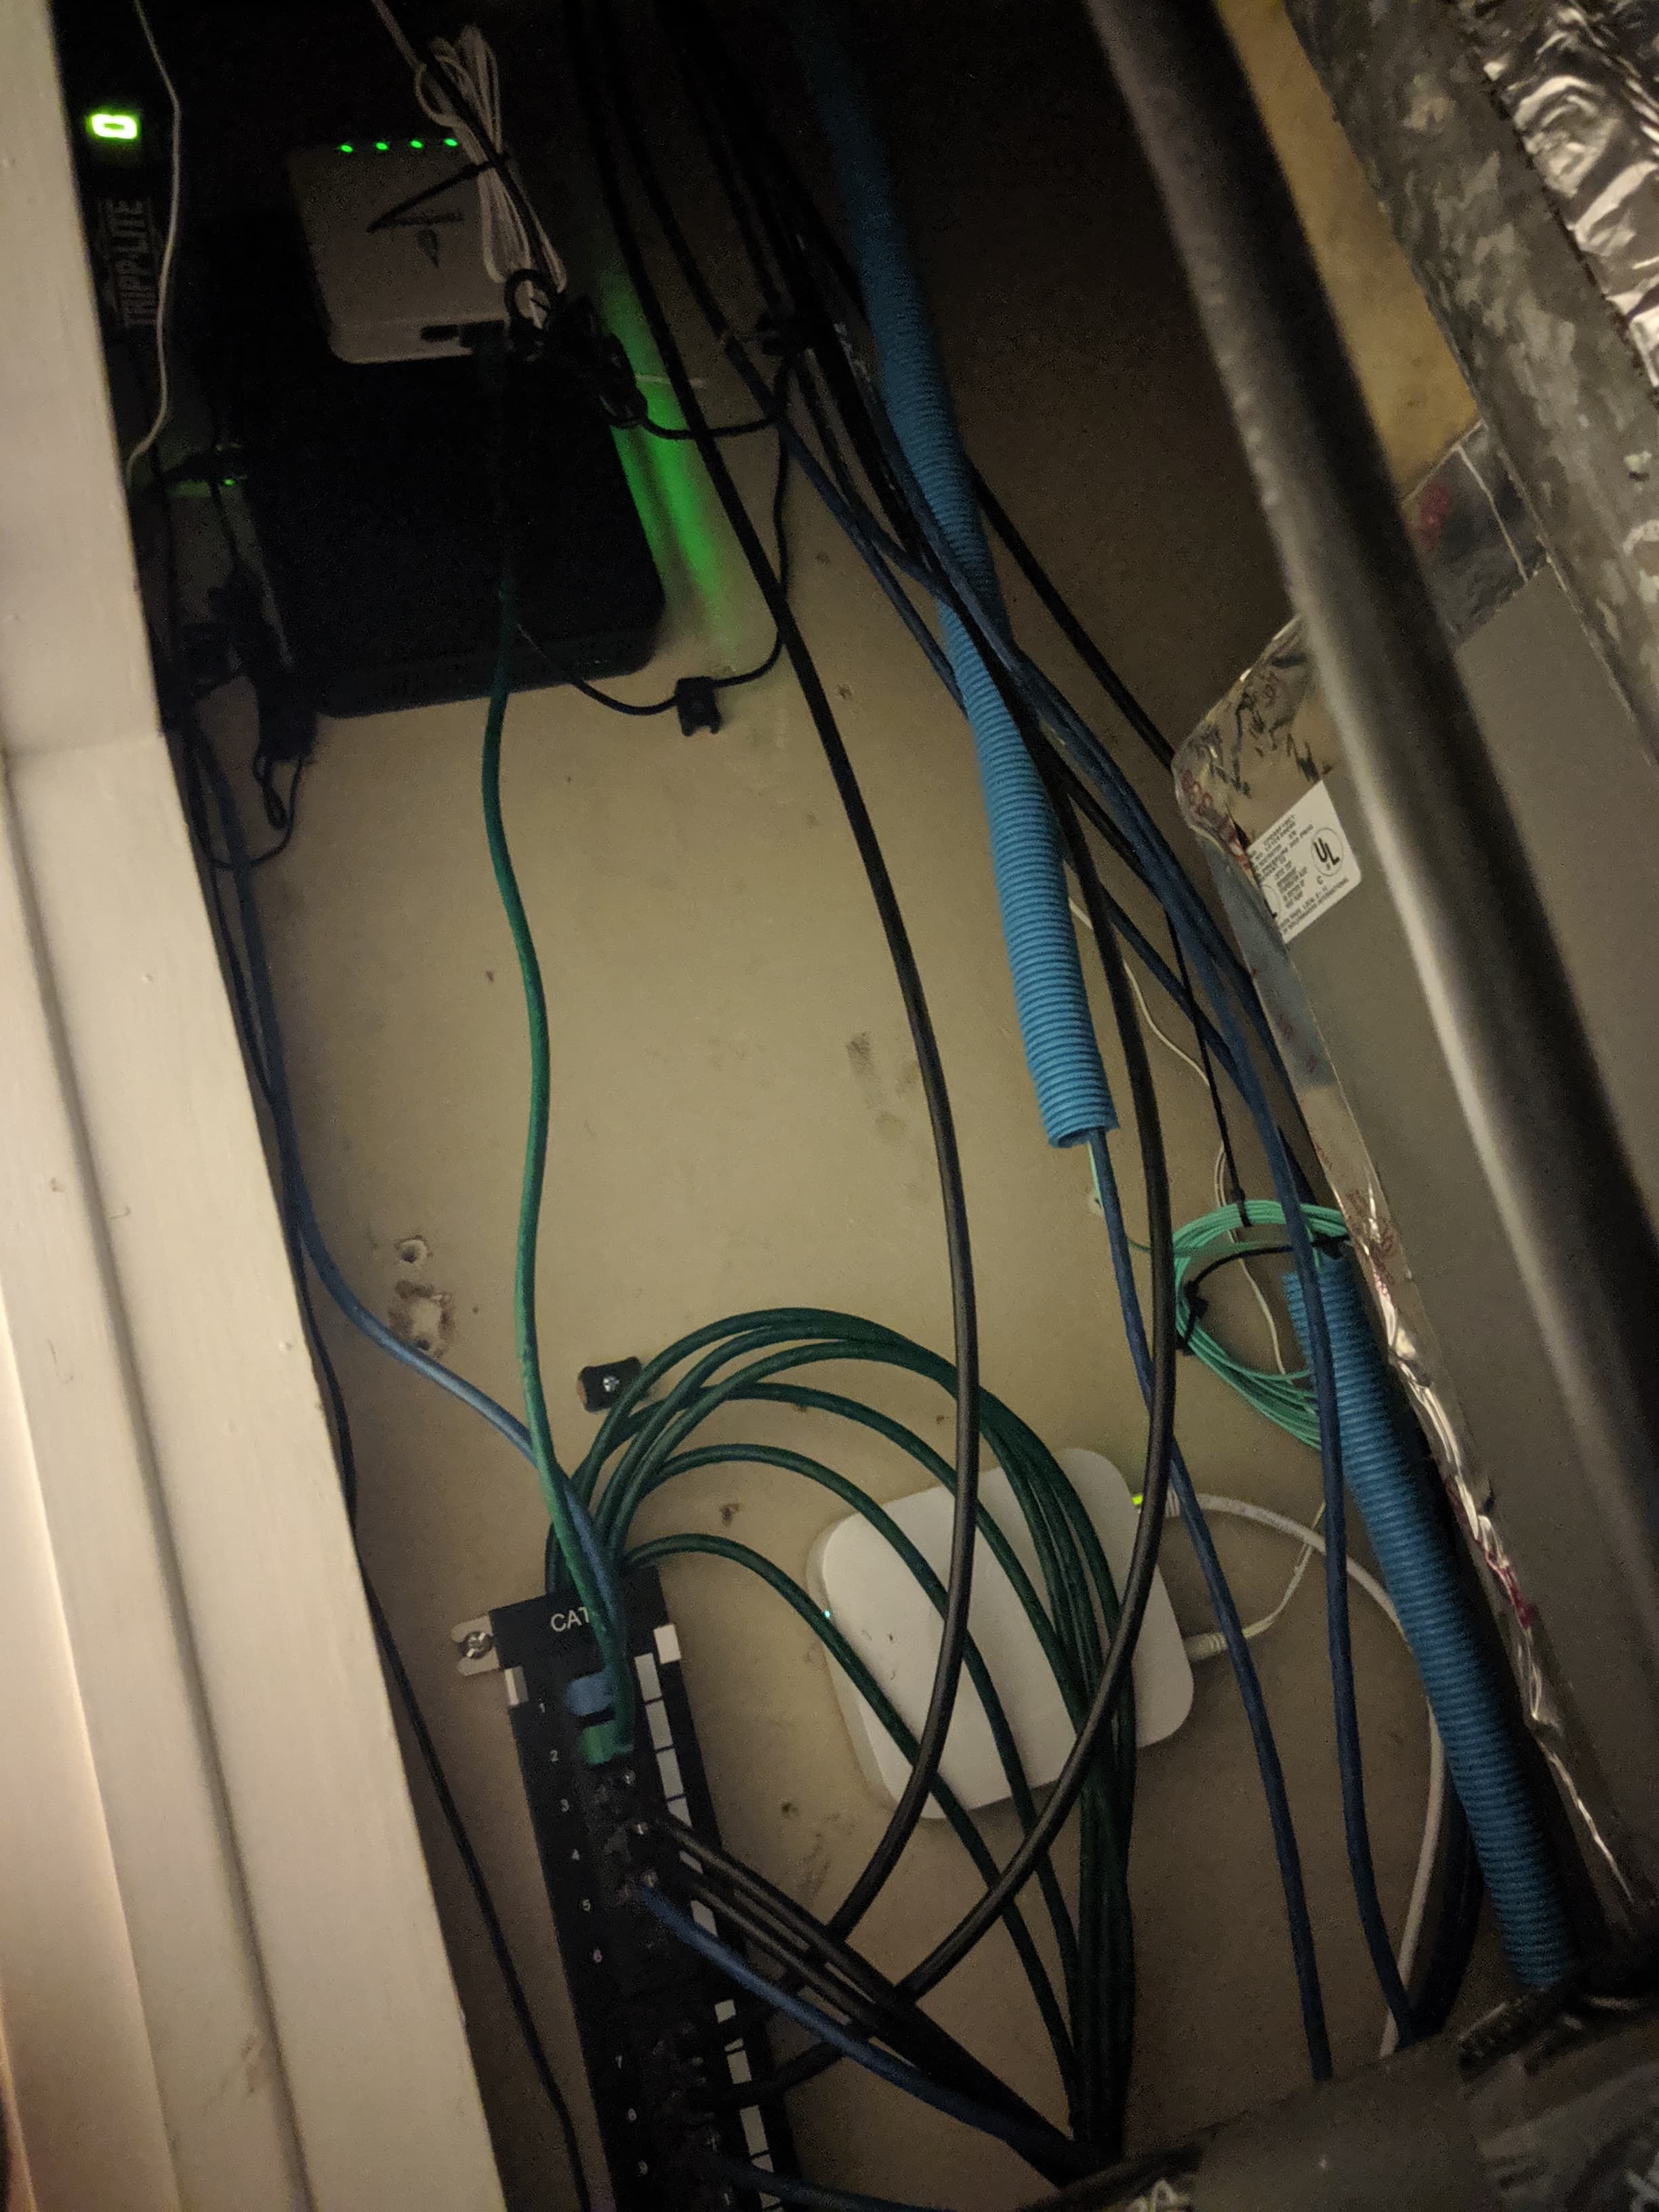
now that all the patches are in on this side, it was time to finish up the conduit in the core.
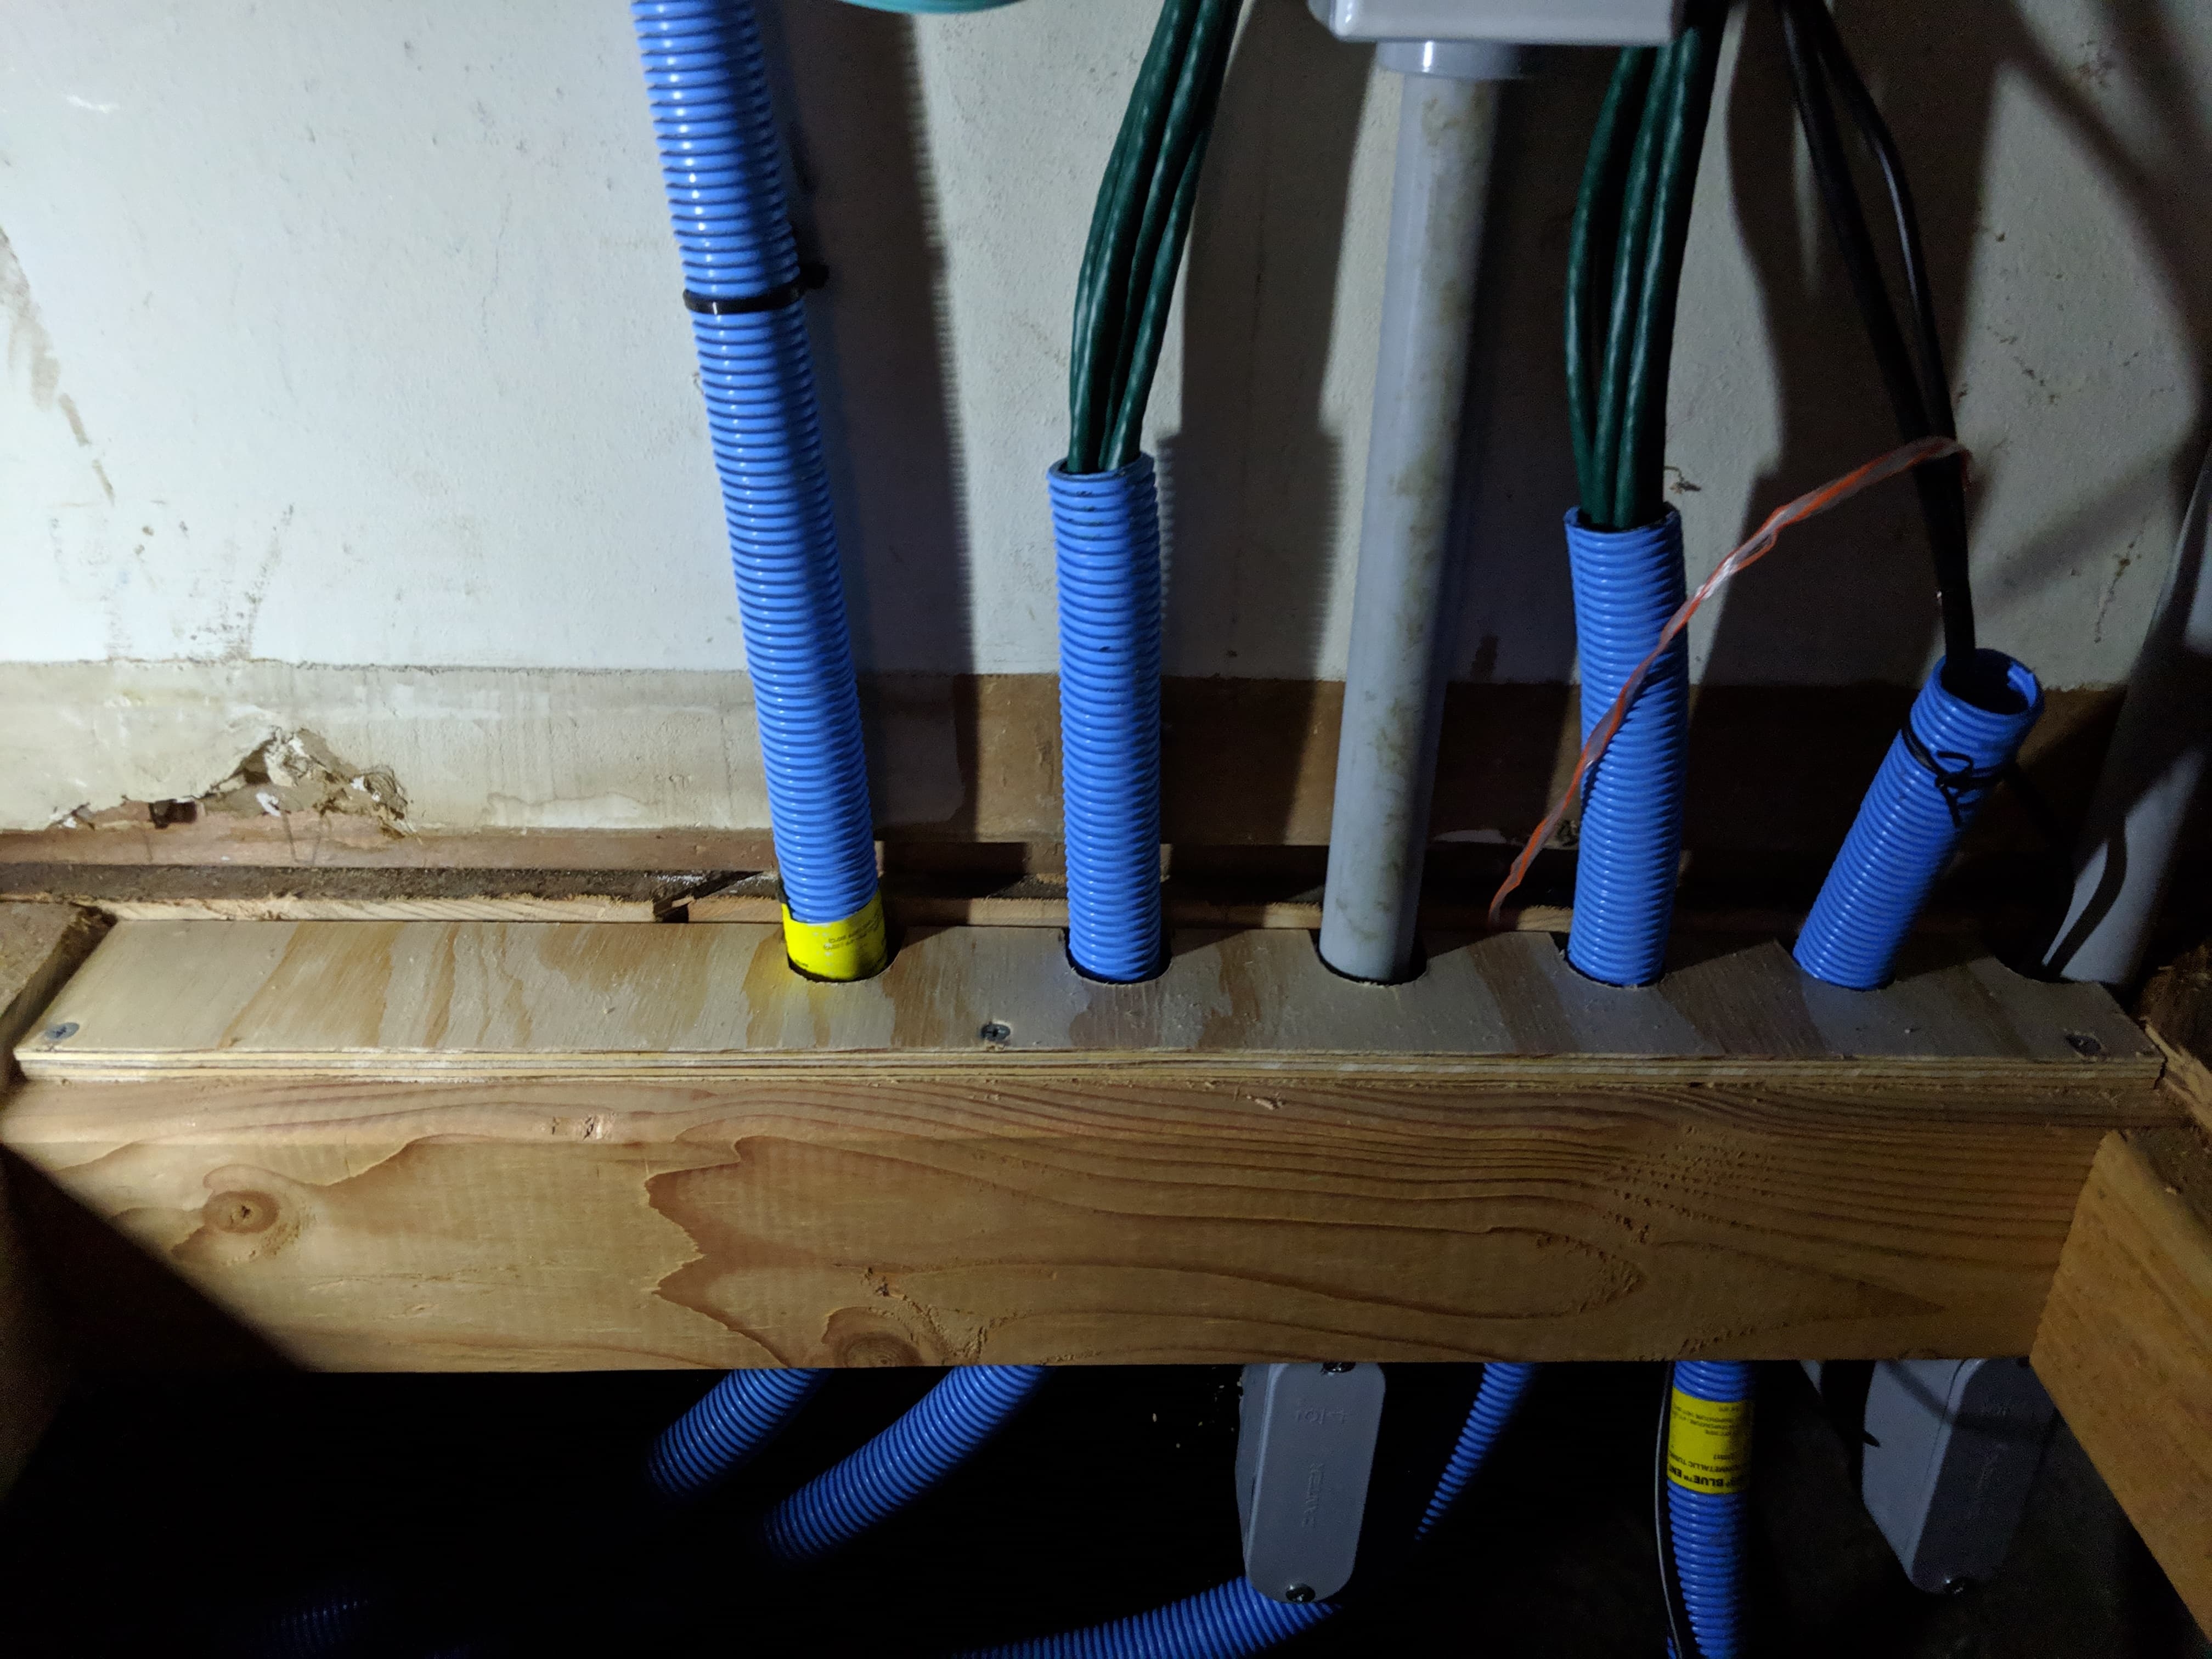
the conduit is as follows.
- fiber to upstairs
- AC closet
- Data feed to the side of the house
- AC closet
- cat6 to the BBQ island in the back yard
now that all the conduits ran, it was time to lay carpet and install the cooling system.
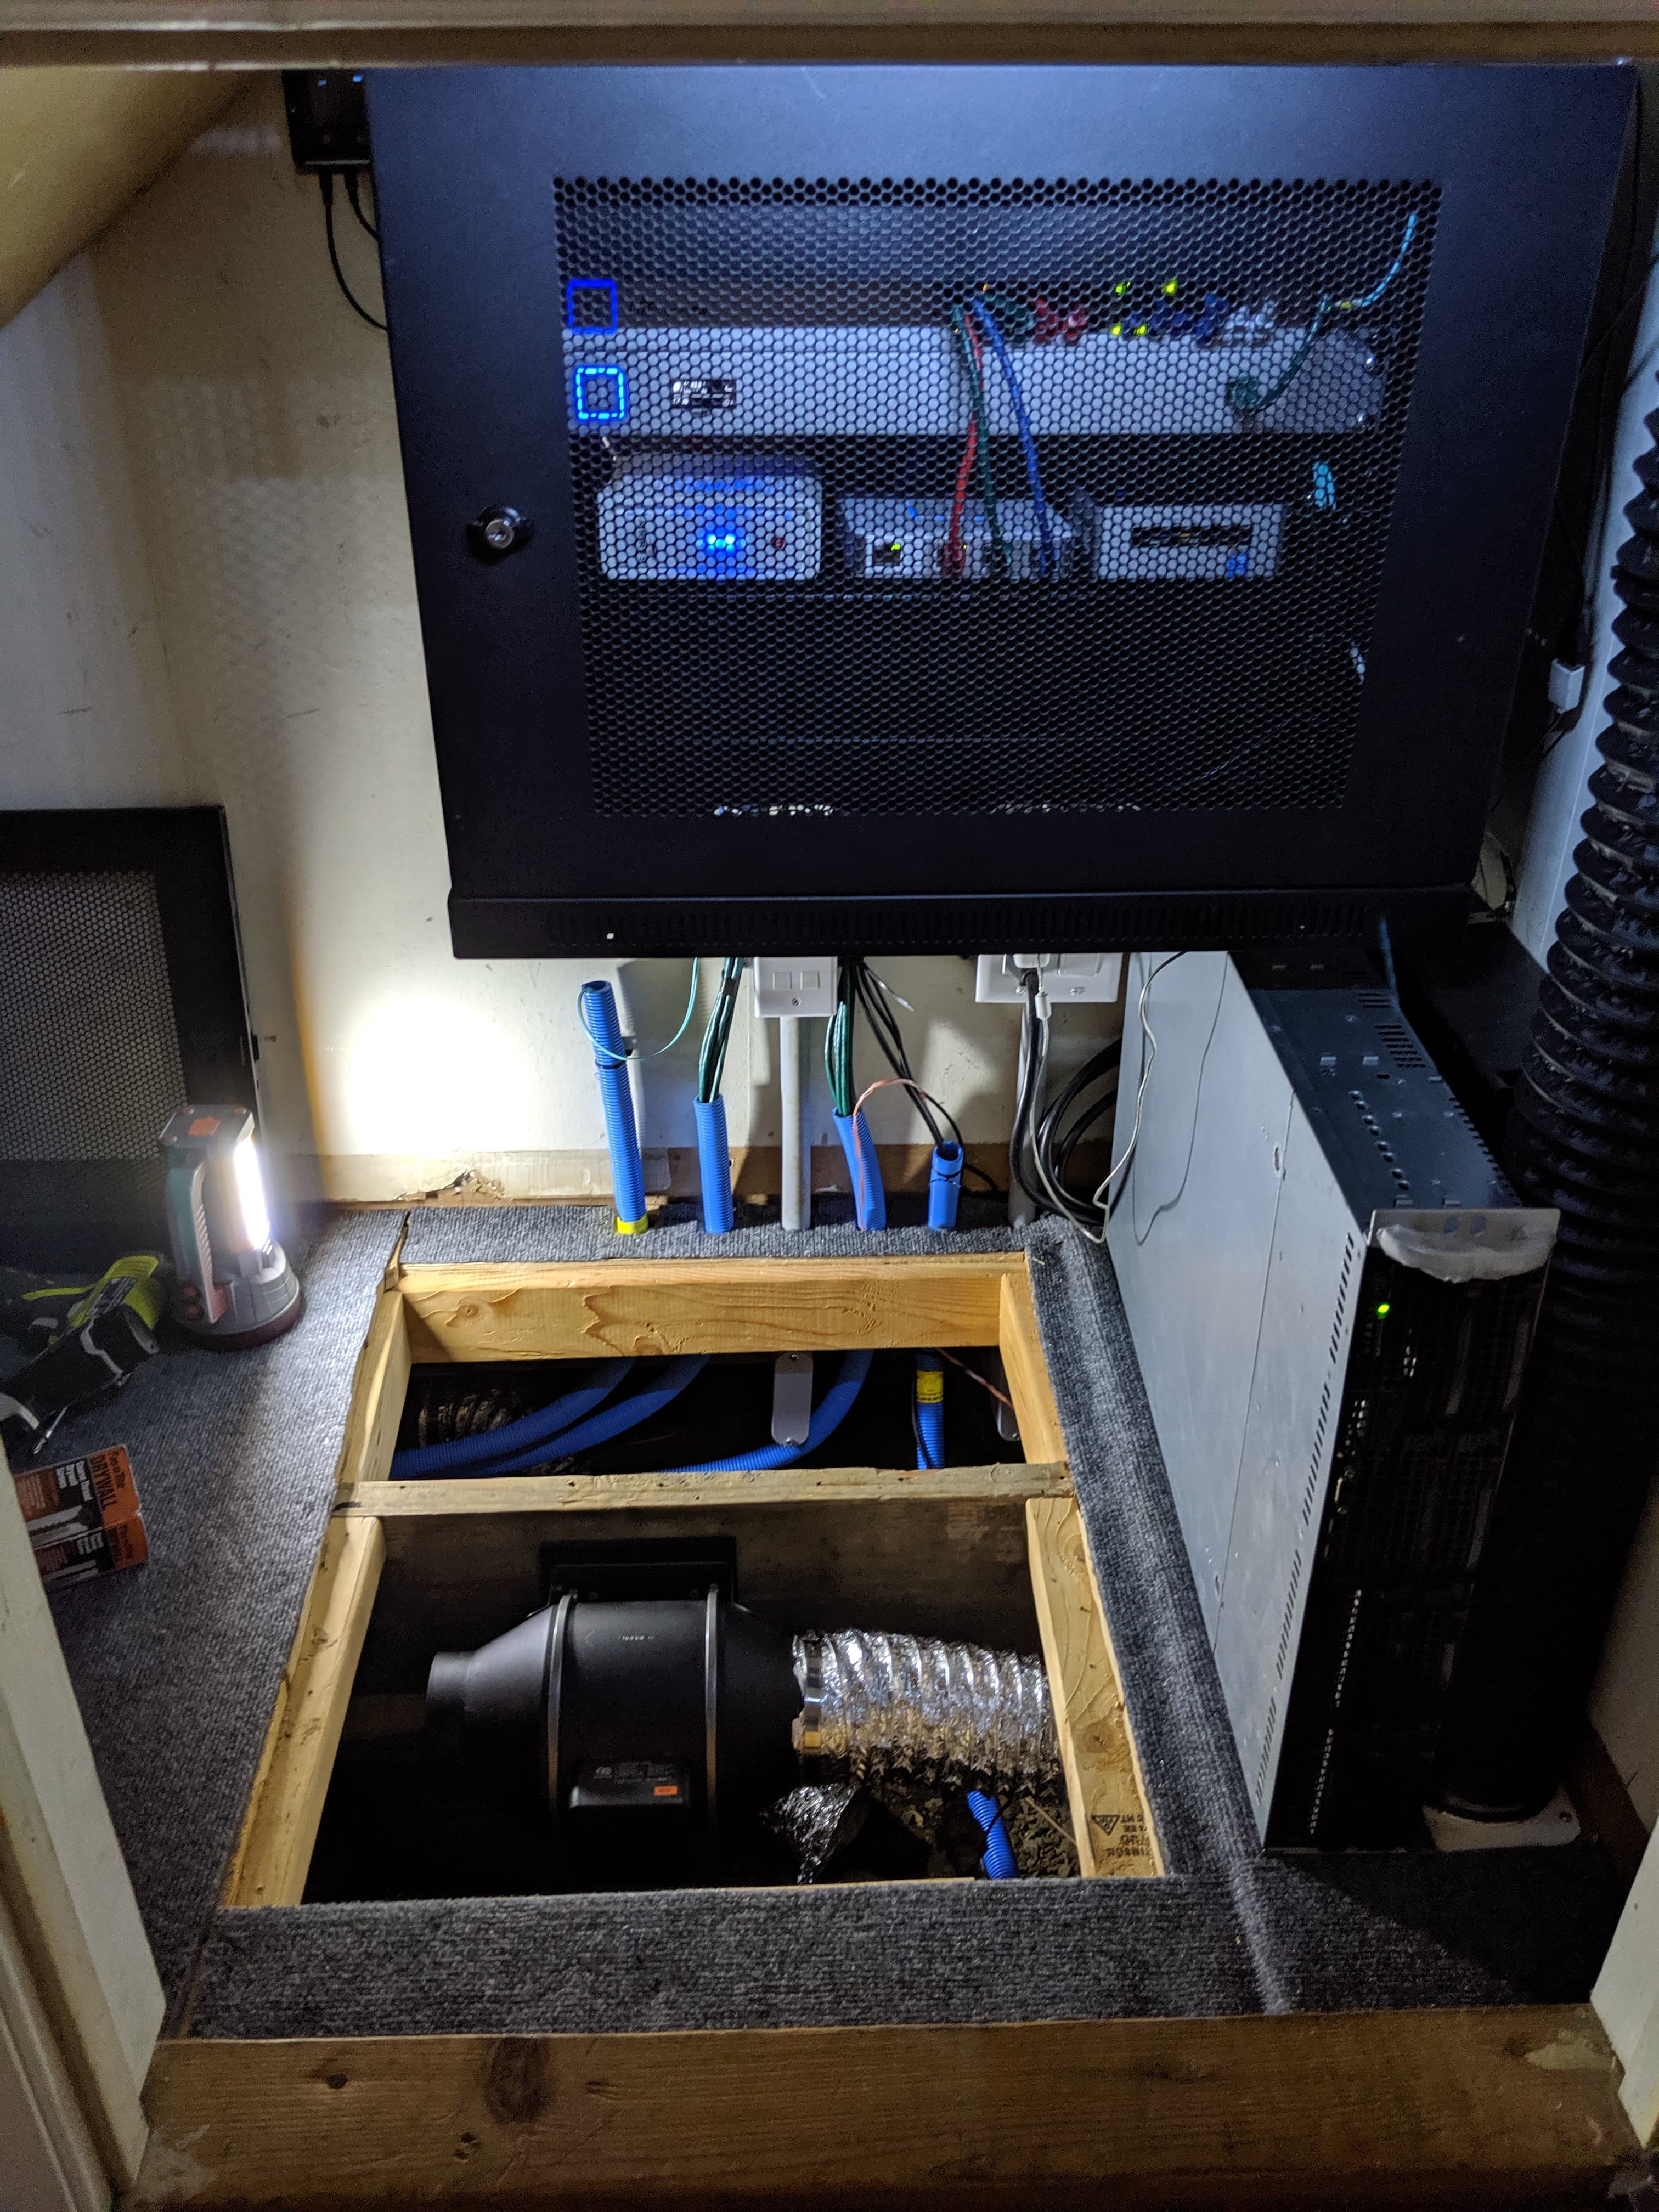
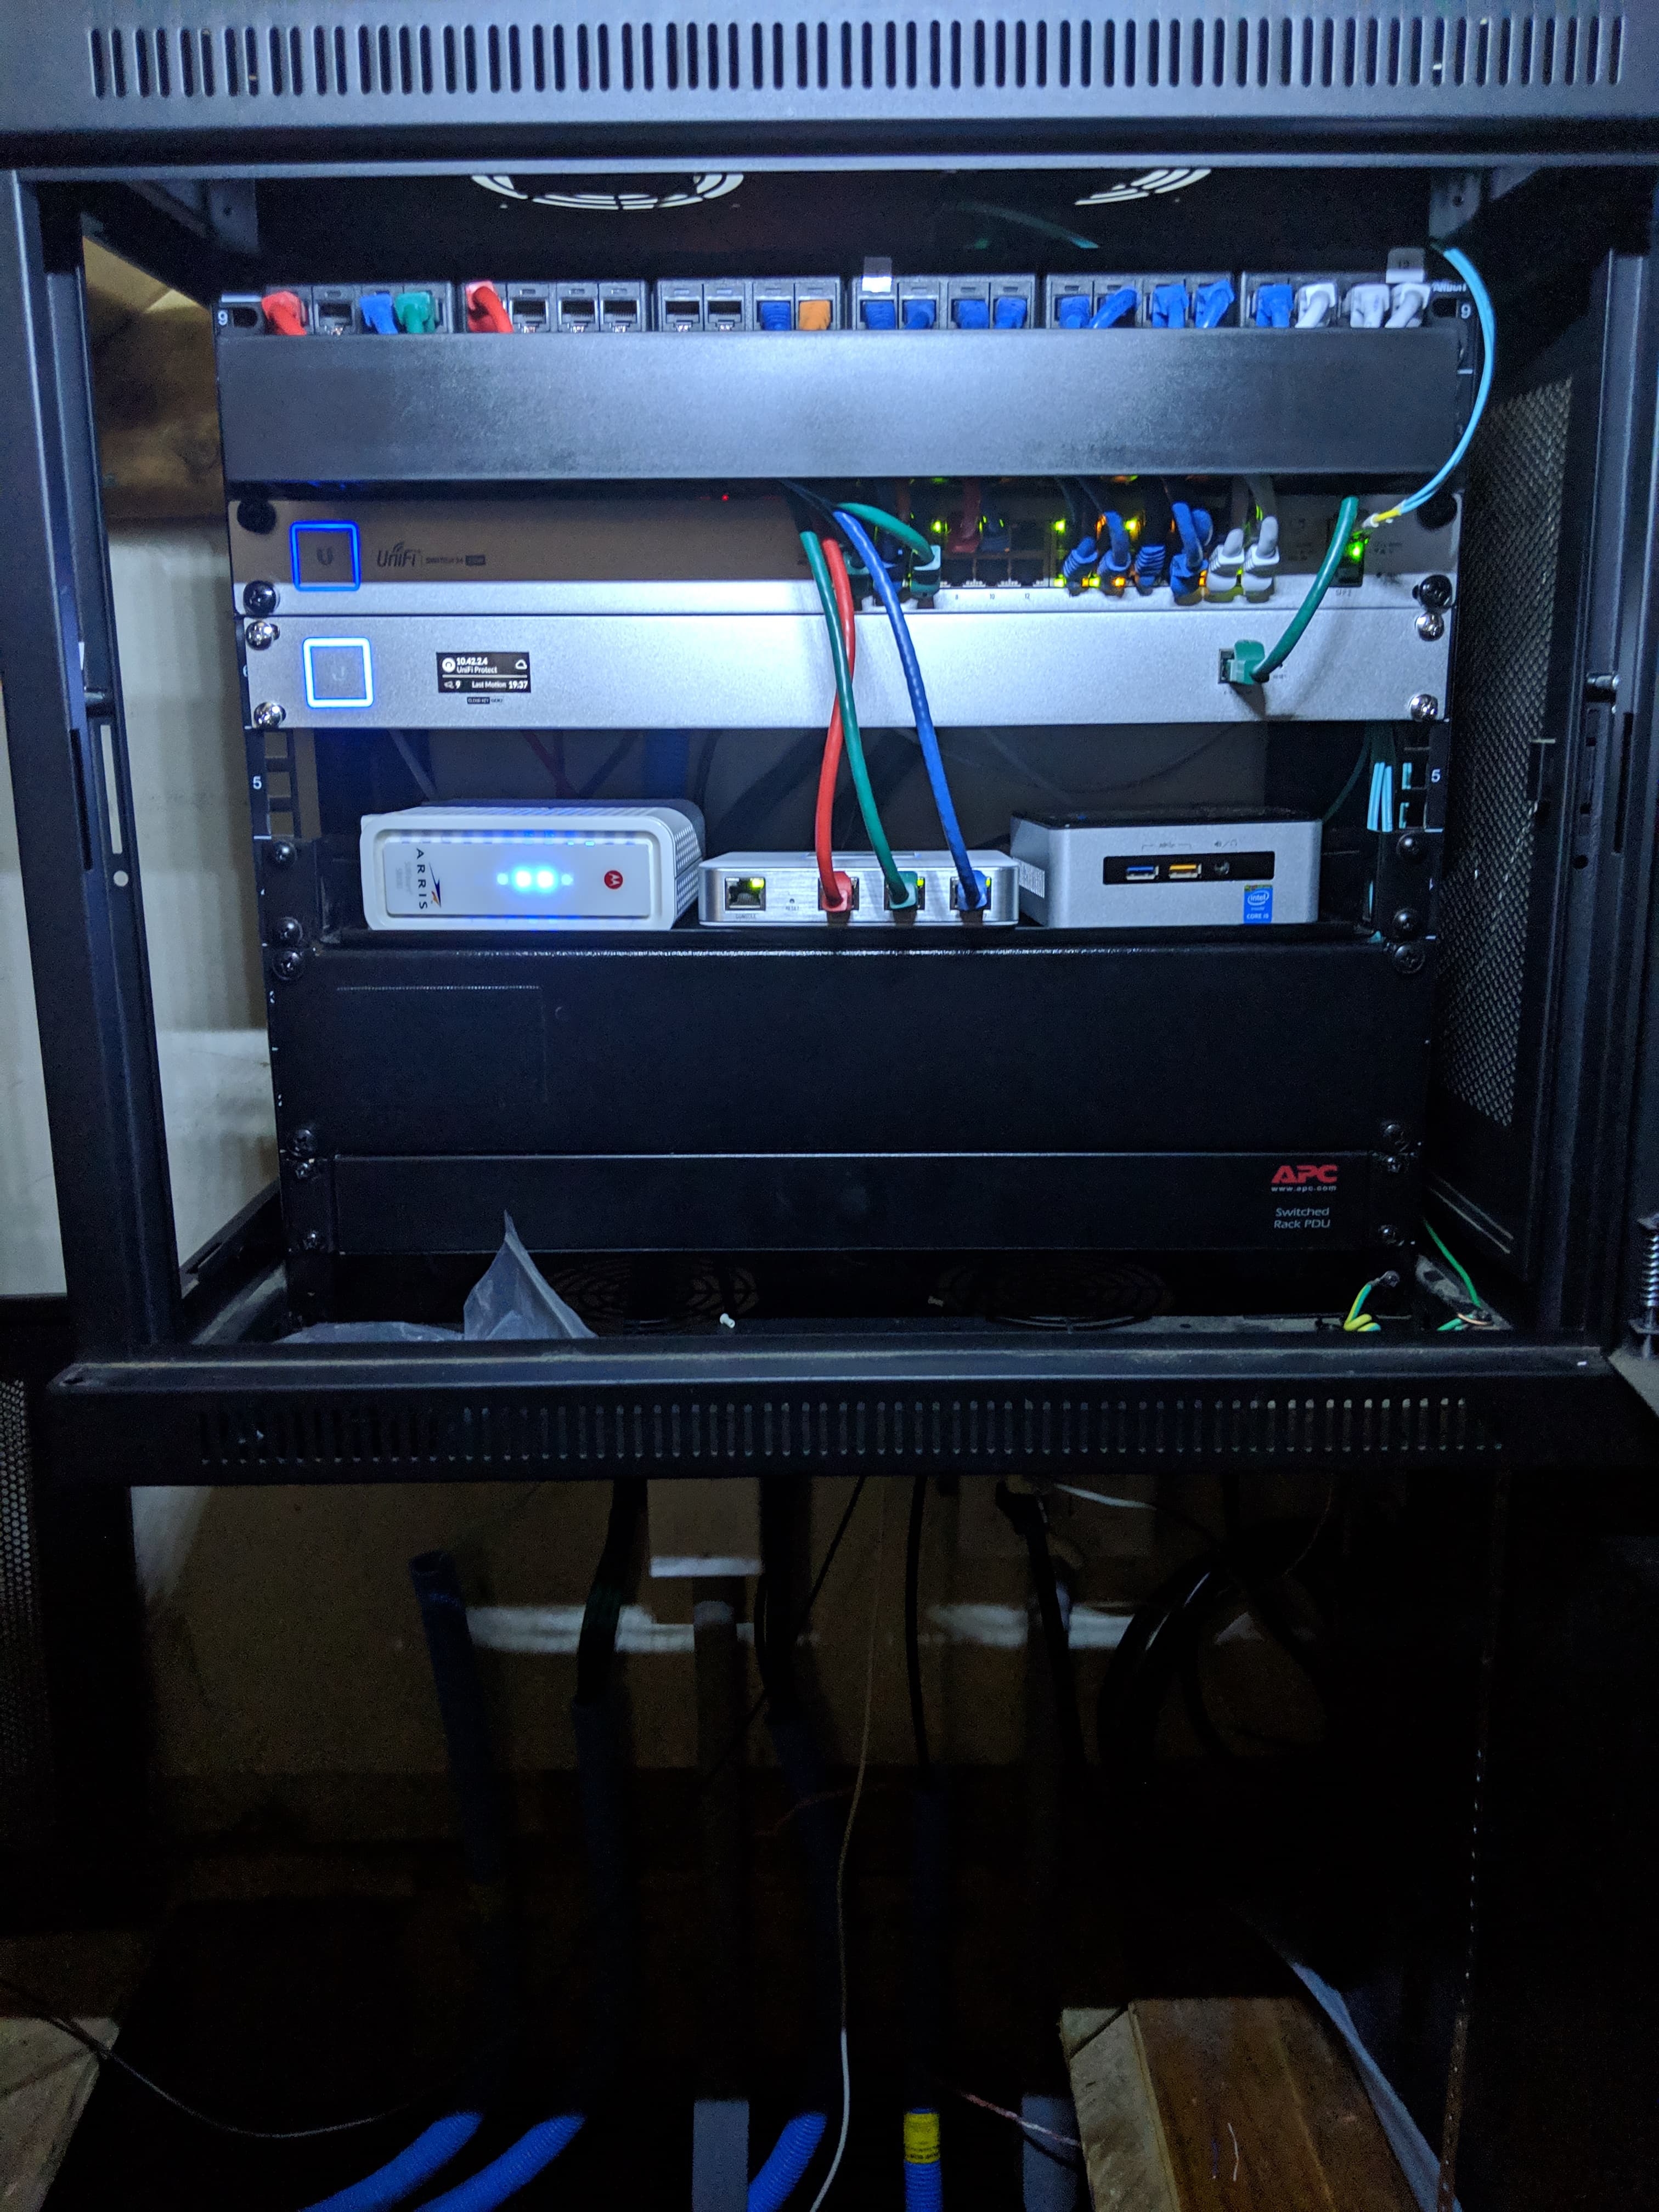
here you can see the server on the right (temporary), and the inline exhaust fan for pulling hot air out of the space. both of these two holes are just panels i can remove if needed. lets talk about cooling, i spent some time choosing this space because i found that under the house is usually about 65-68 degrees. what if i can circulate the air from under there and use it as an cold air tank. i already had the filter box, just had to pick up some parts and a couple of inline fans.
before i continue, i have to tell you, i spent more time working myself up to crawl under the house (which isn't really that bad) than i did actually under the house.
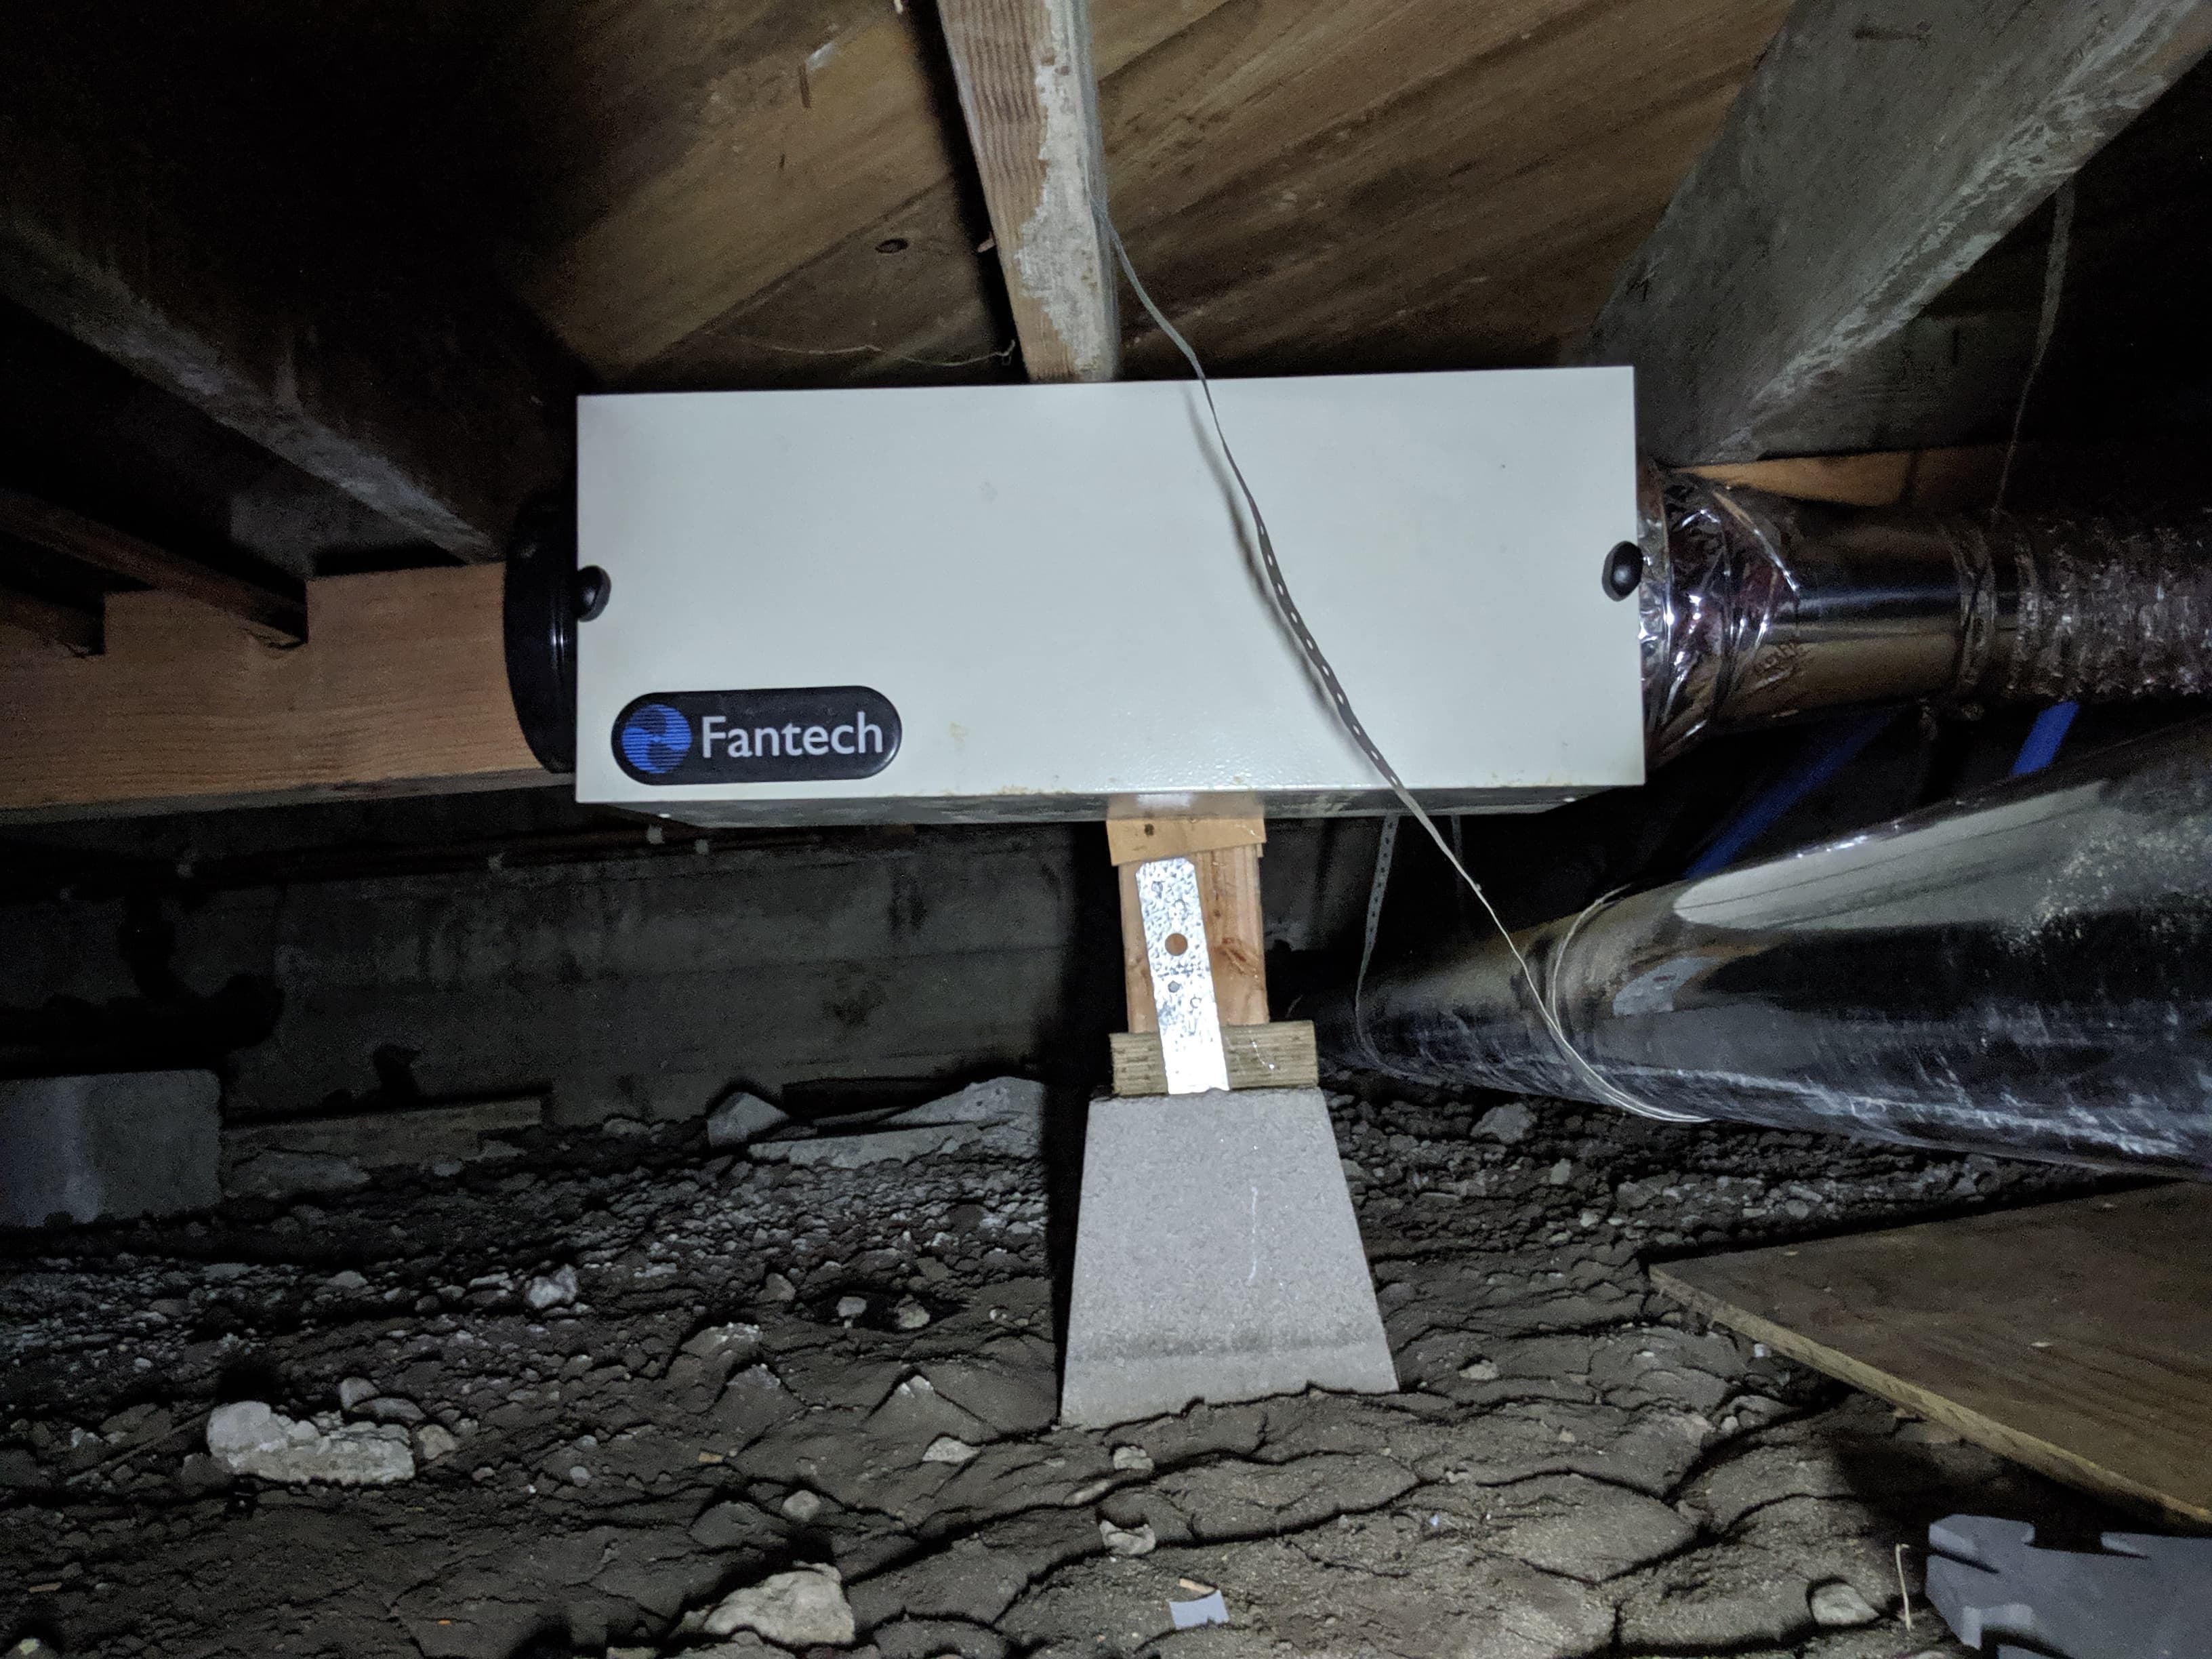
here is the filter box, i figured i'll have to crawl under there in 6 months and change the filter, but we'll see.
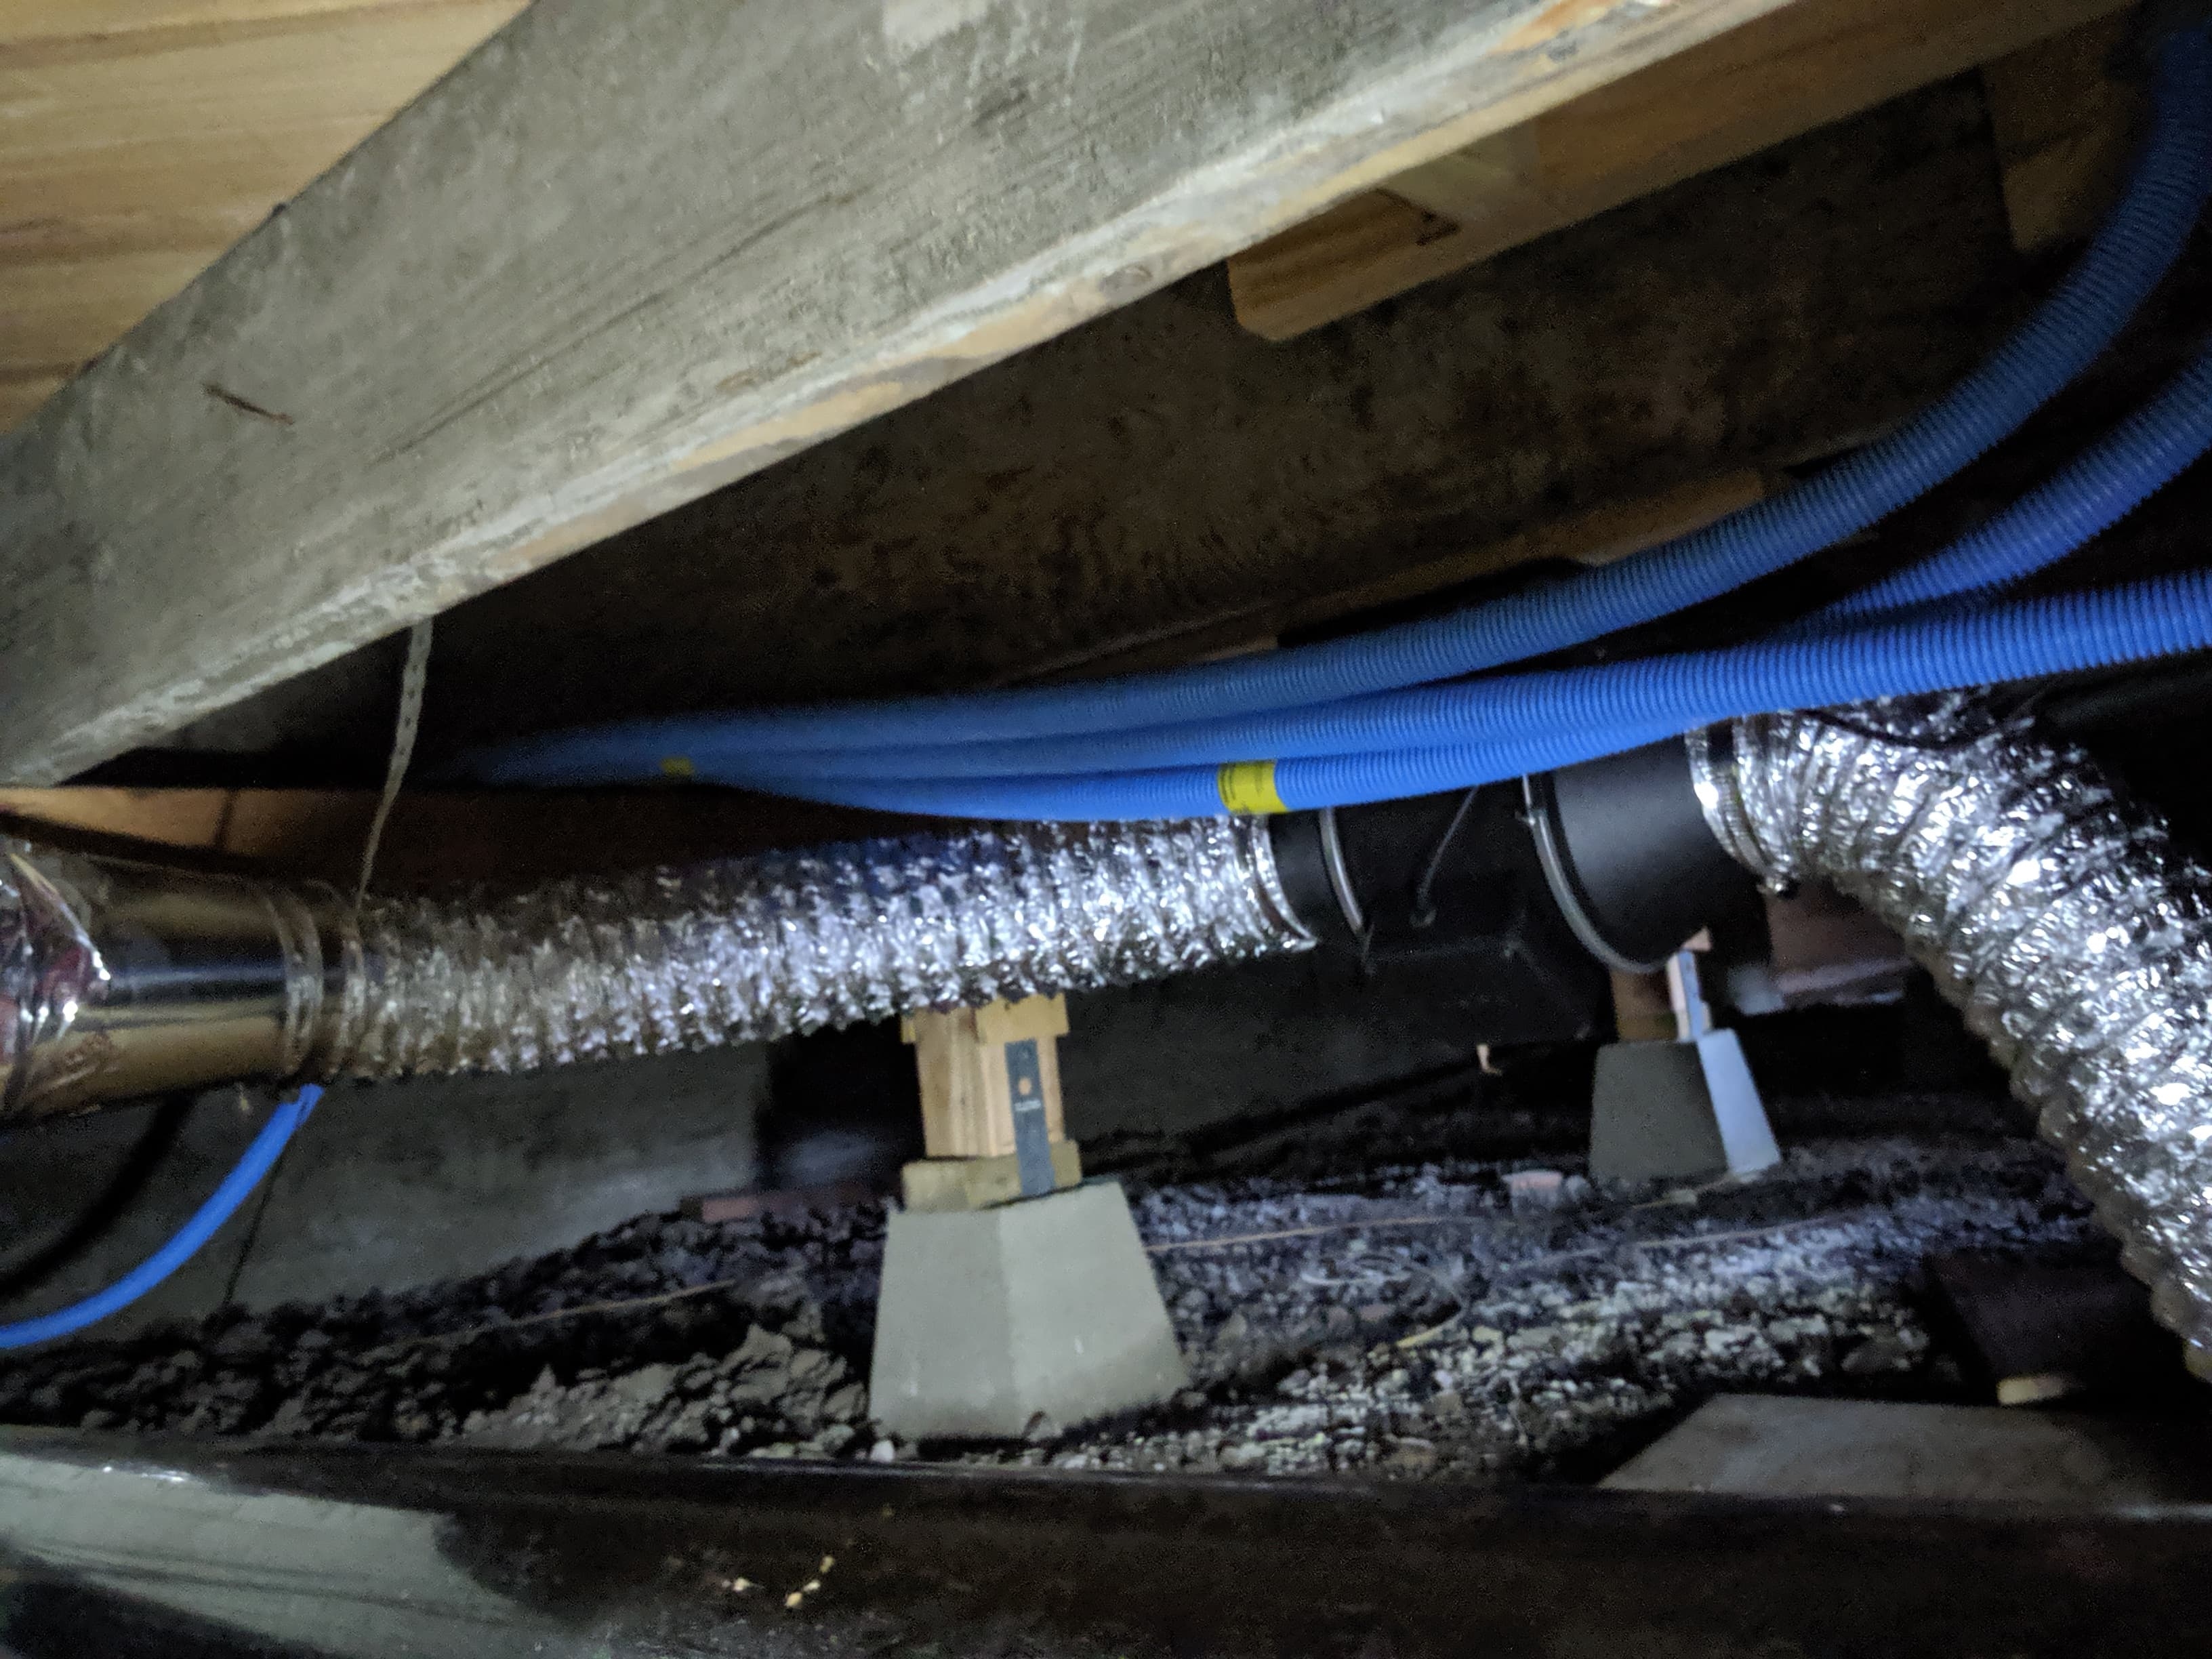
and this is the intake from the filter box up onto the floor.
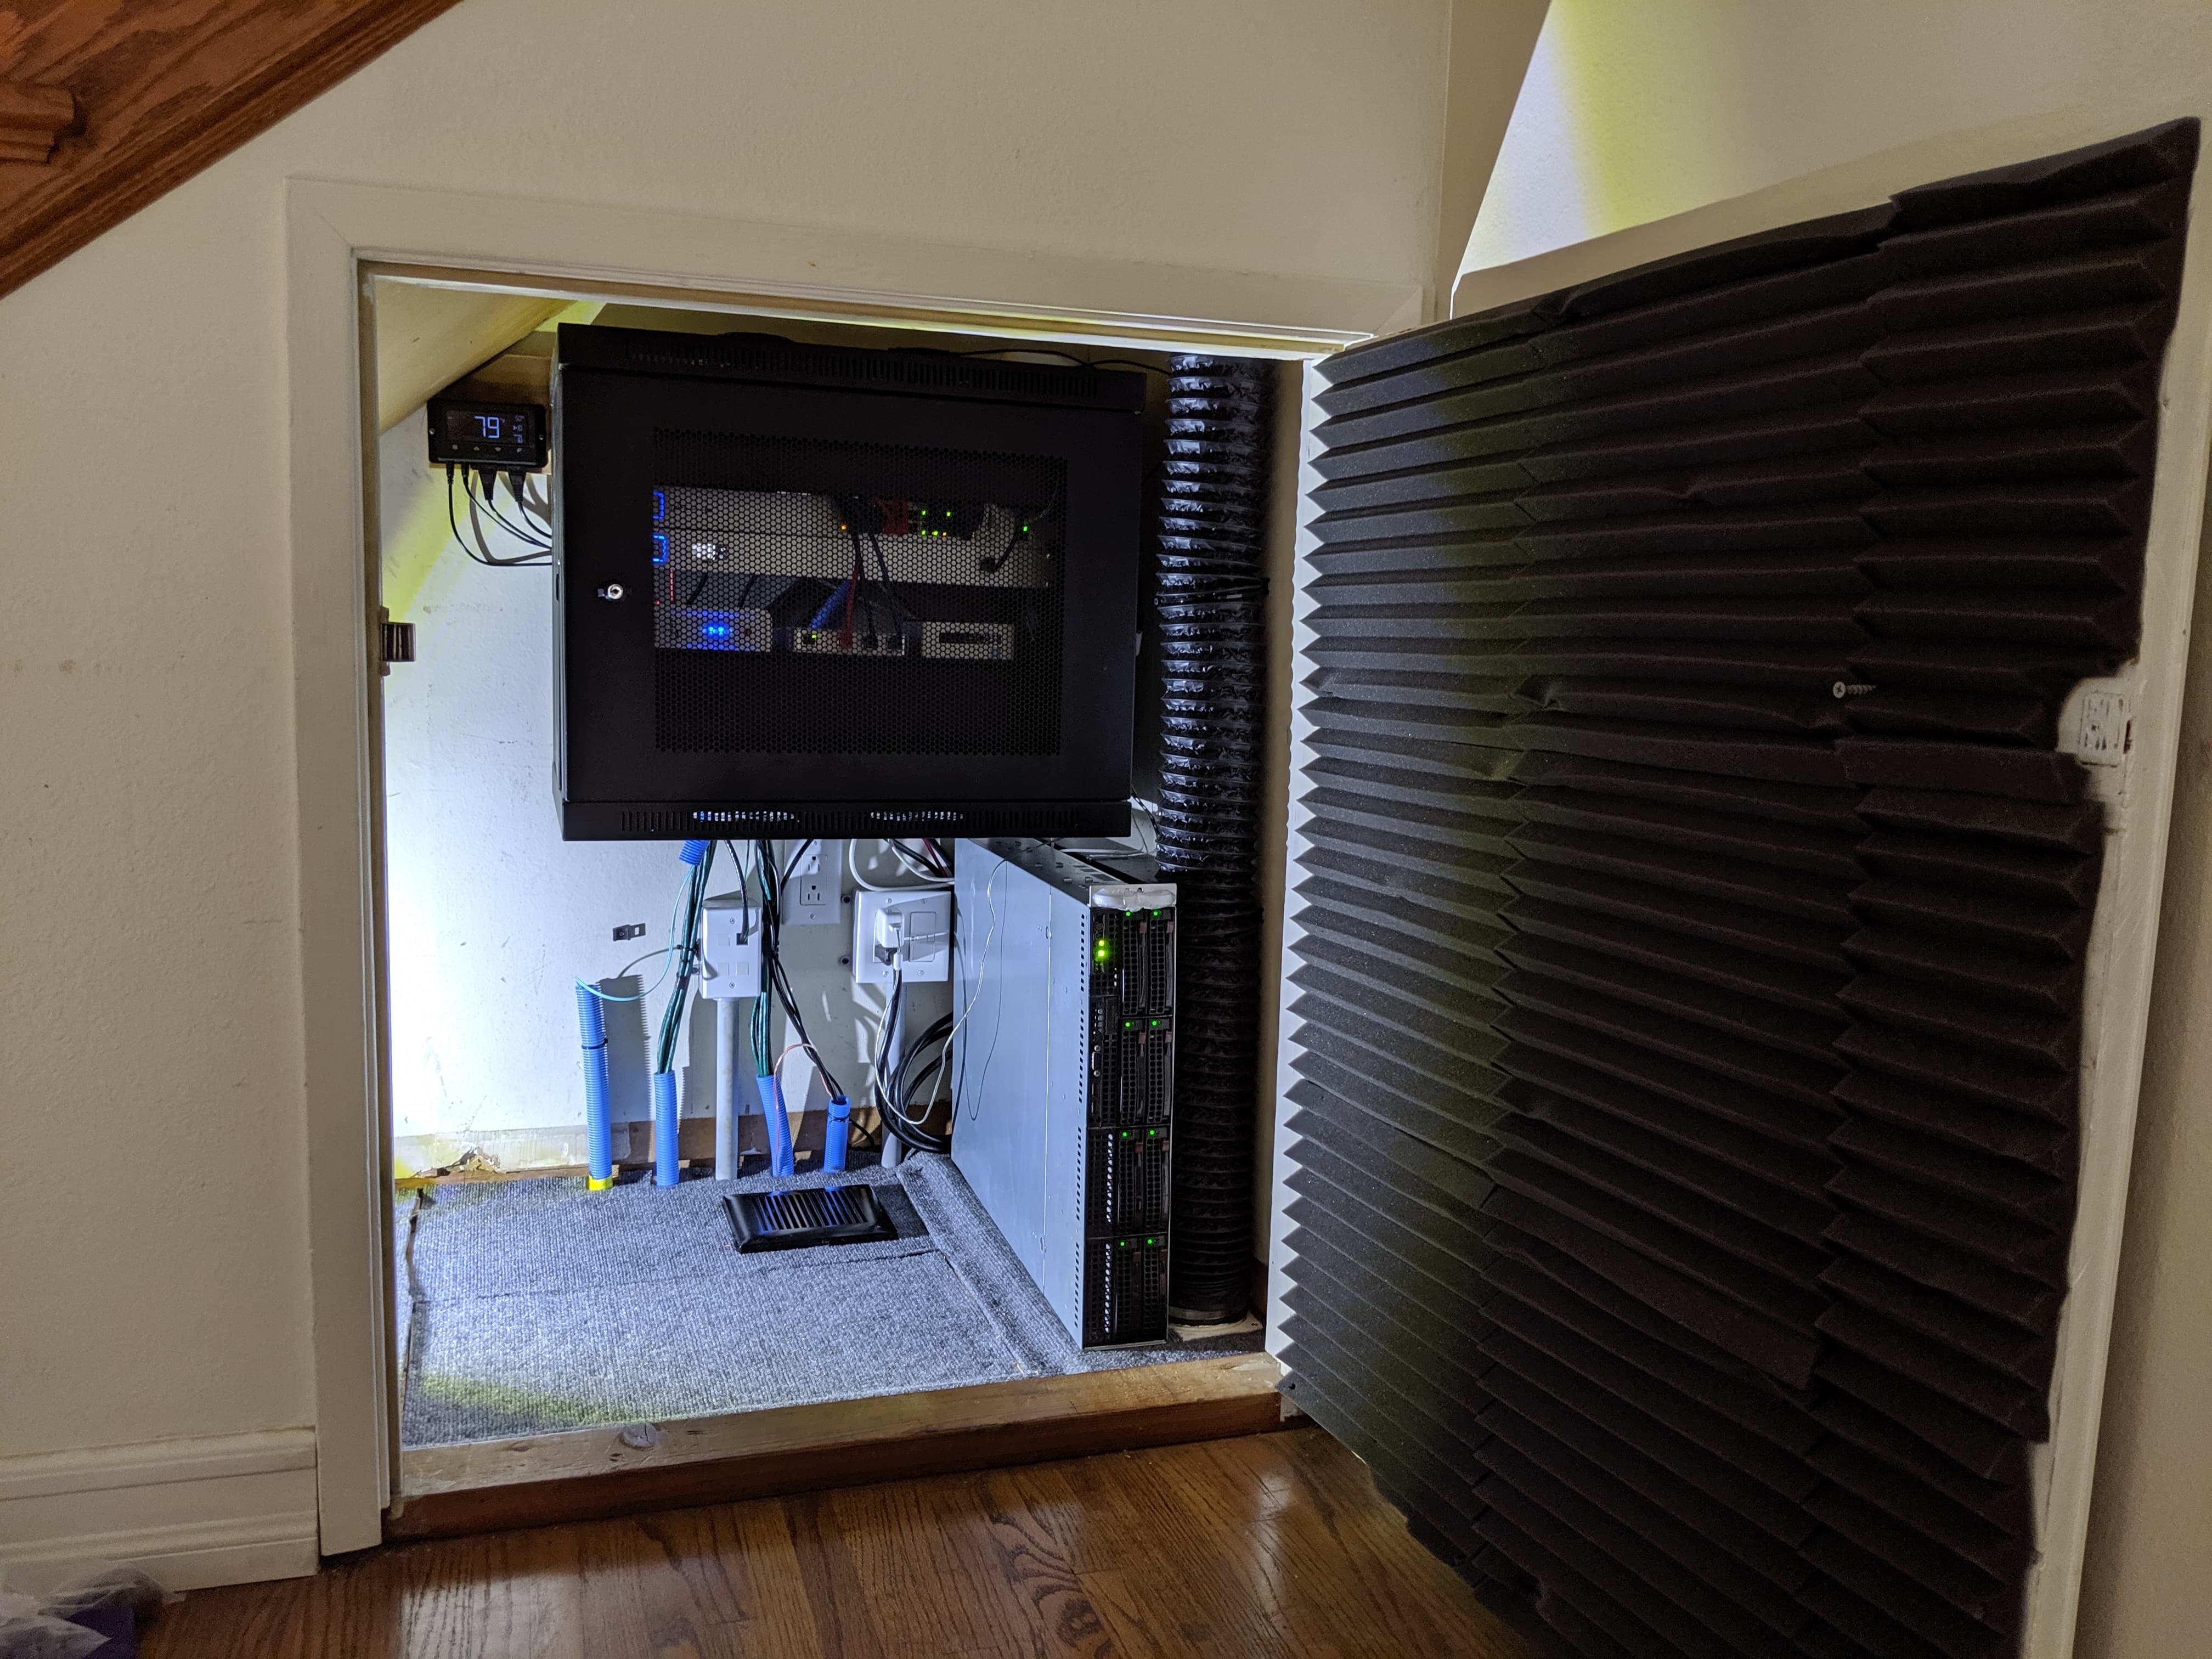
and finally the finished product.
but i won't end it here. if you've seen my other entries you'll know i'm big on data and stats. so a new core wouldn't be complete without a nice dashboard.
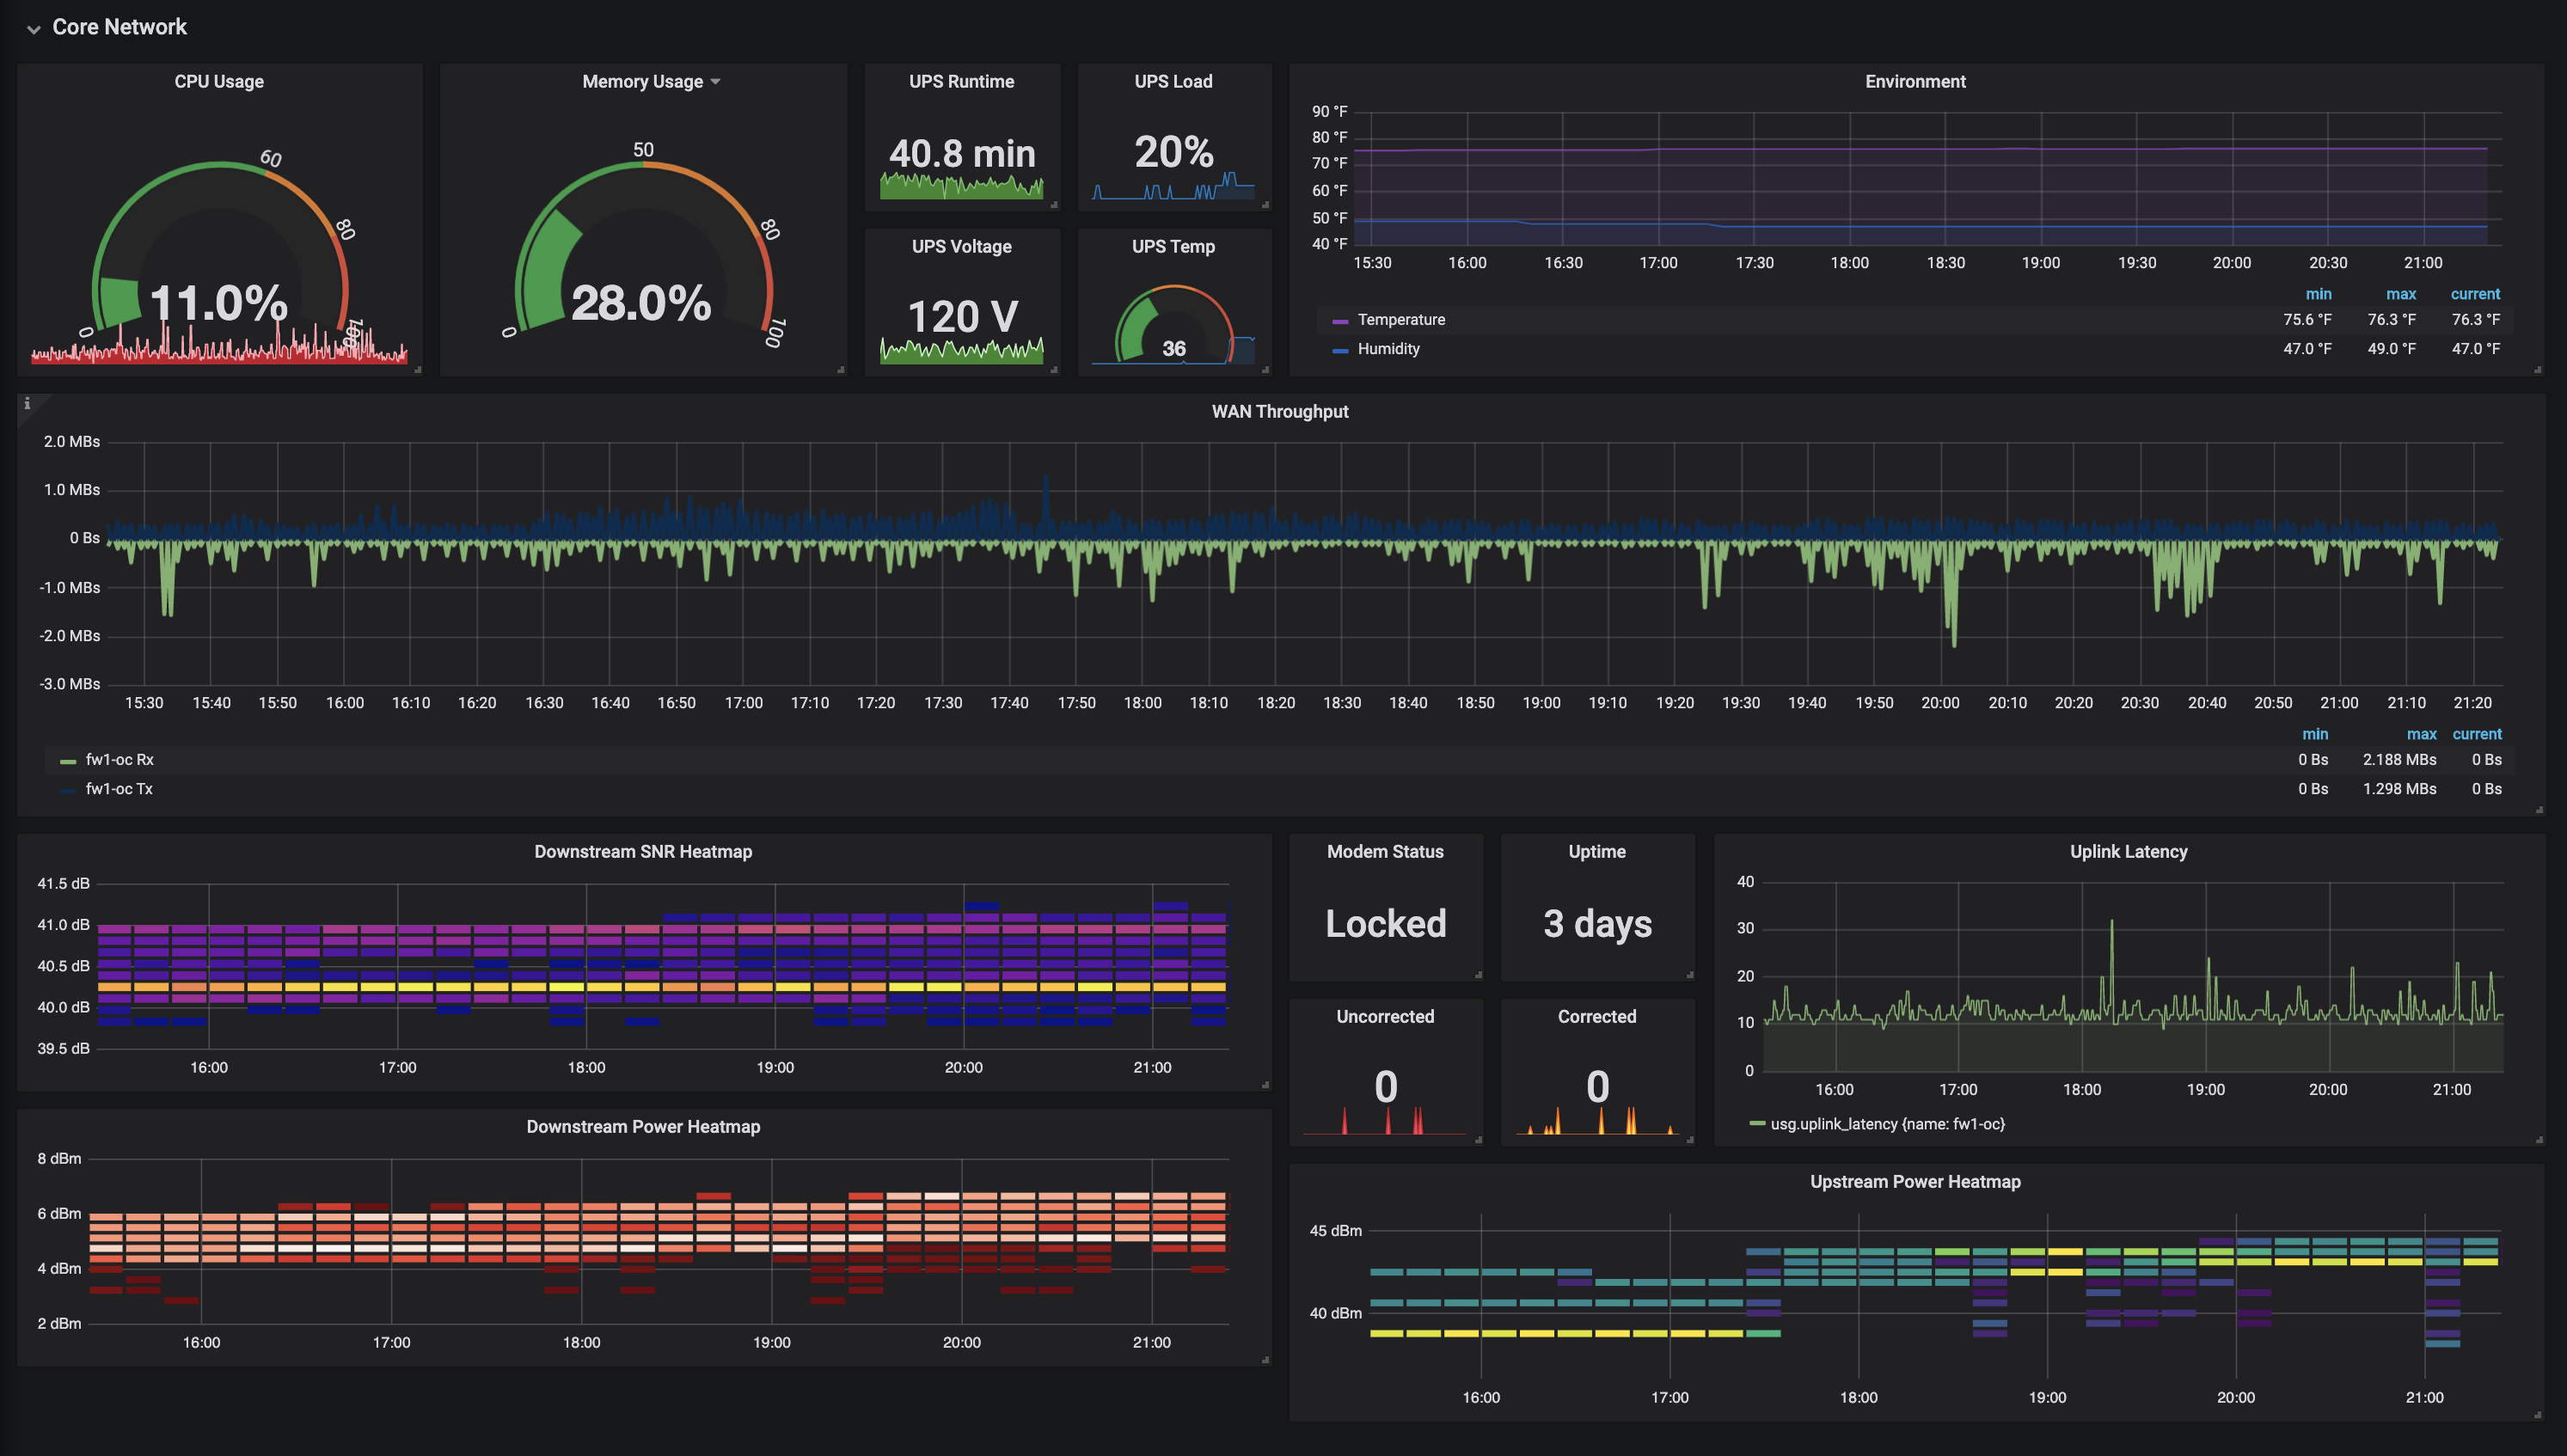
here you can see some USG stats, ENV temp, and then the second half is cable modem details. i spent a lot of time once debugging the cable companies problem. so i wrote a docker container that parses the modem dashboard and pushes it to influx. i just recently fixed some bugs, when i get a chance to test it i'll throw it up on github.
the server on the far right needs to be retired i figure my heat generated is 80% that server. however even with it there i can keep it about 74F. i'm working on two possible solutions. one is build a custom open air frame server and sit it over the vent, or just go get a qnap and be done with it. (its more about saving power than anything).
anyway thats my build, i hope you enjoyed it.
Add a comment
